JTL ticket system
Long awaited: customer communication from within JTL-Wawi. The outbox is already being actively used, as shipping confirmations, invoices, etc. are already being sent via it. Now follows a ticket system, CRM Light, so to speak. In addition, customer requests sent to specific email addresses arrive directly in JTL-Wawi, where they can be processed, sorted, assigned to other employees, and so on.
It’s a real labor saver, because everything about your customers grows more together. Because up to now, customer communication has been largely outsourced.
How to activate, set up and use the ticket system JTL-Servicedesk, you can read here.
Activation of JTL ticket system
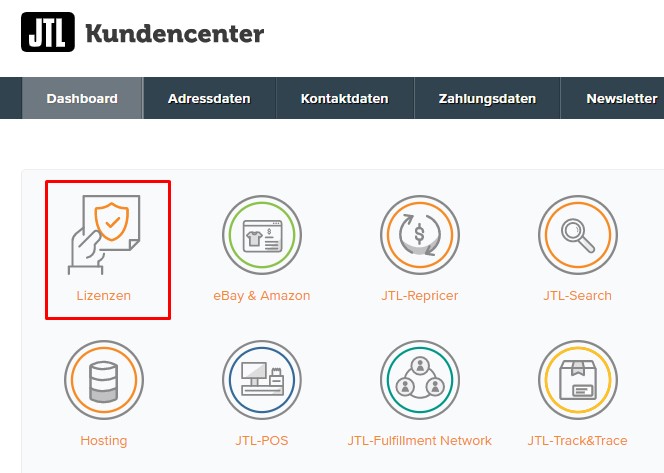
Like all JTL products, you first activate a license via the JTL Customer Center. As long as the beta phase is active, the license costs nothing. Later, the first license will be free of charge, further ones will be rented cheaply per user.
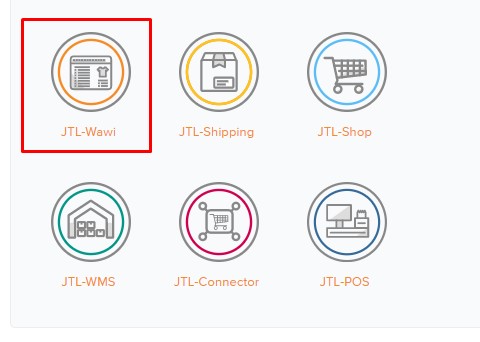
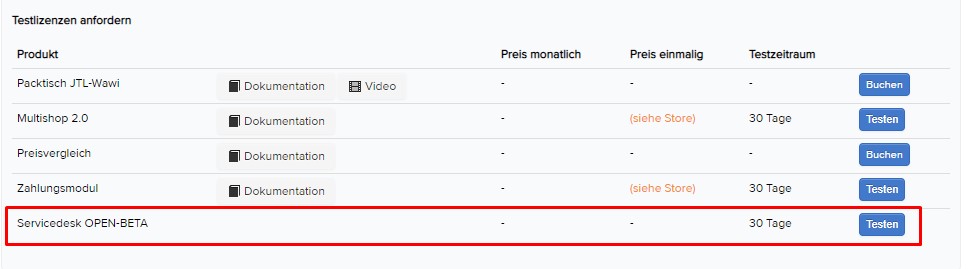
Click on “Licenses / “JTL-Wawi” in the JTL Customer Center and then on “Test” behind “Service Desk”:
If you have not yet entered your license key in JTL-Wawi, copy it from the page and open the menu “Help/Licenses / Licenses” in JTL-Wawi. After that, all booked licenses appear, including those of the service desk:
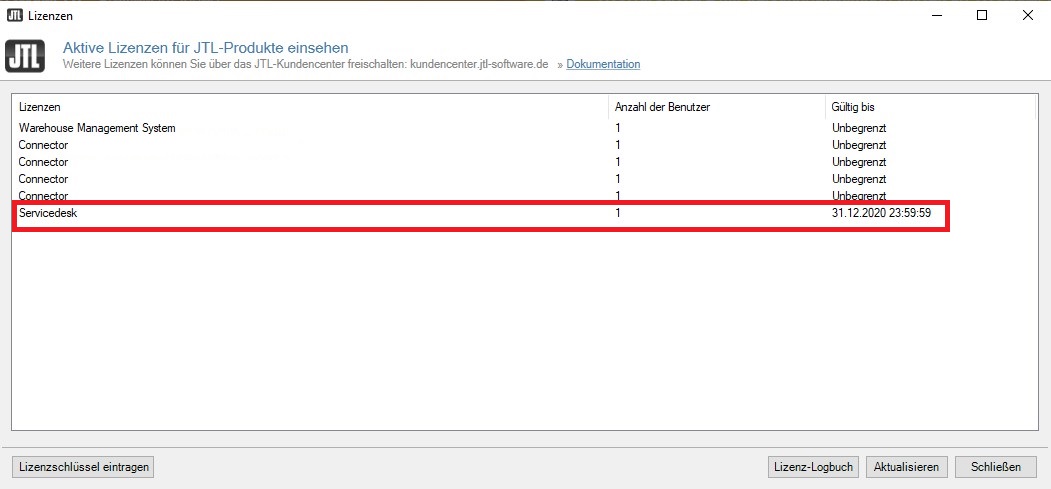
The service desk module is now activated and you can use it.
JTL Service Desk at a glance
First, you create a mailbox in JTL-Wawi that you want to use for the inbox. For this purpose, a corresponding mailbox must already exist on your server. If you are unsure how to create such a mailbox, we will be happy to assist you.
Now you enter the data into the corresponding fields in JTL-Wawi.
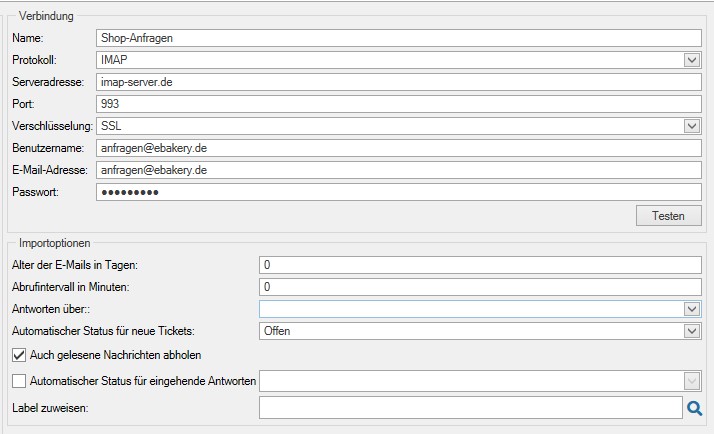
- Name: This name is only for internal differentiation within JTL-Wawi, so you can enter anything.
- All other data in the “Connection” section depends on your mailbox. Set it up yourself and you’ll know the answers. Otherwise, the mailbox setup person will be happy to tell you the data.
- Assign label: Here you define the individual teams or departments in your company. Later you can give each Wawi user specific access rights to individual labels.
- Be sure to test the connection before confirming everything to make sure you can receive emails.
The import functions specify:
- Age of emails in days: How old may the emails be that JTL-Wawi imports from the mailbox? If it is a new mailbox, this value will only be relevant if you go on vacation and JTL-Wawi is not running.
- Polling interval in minutes: If you want/can react quickly, set the value to 5 minutes. Otherwise, 15 minutes is a good guideline. After all, you have to answer the requests first.
- There may be restrictions with some email providers. Too short an interval may result in a temporary lockout. Therefore, check with your provider for restrictions before setting this value.
- Reply via: Here you can specify an existing SMTP address through which you want to send.
- The rest of the options are self-explanatory.
When you set up an outgoing email address, you have fewer options. However, they are based on those of the incoming server and will be communicated to you by your setter.
Create signature in JTL service desk
In business correspondence, your emails must meet certain requirements. Usually email signatures are used for mandatory information – this is also possible in JTL Servicedesk.
If you have defined an e-mail address as outbox, open the menu “Service Desk / Signatures” and create your signature there. First select the user of the Wawi, then you can create a signature.

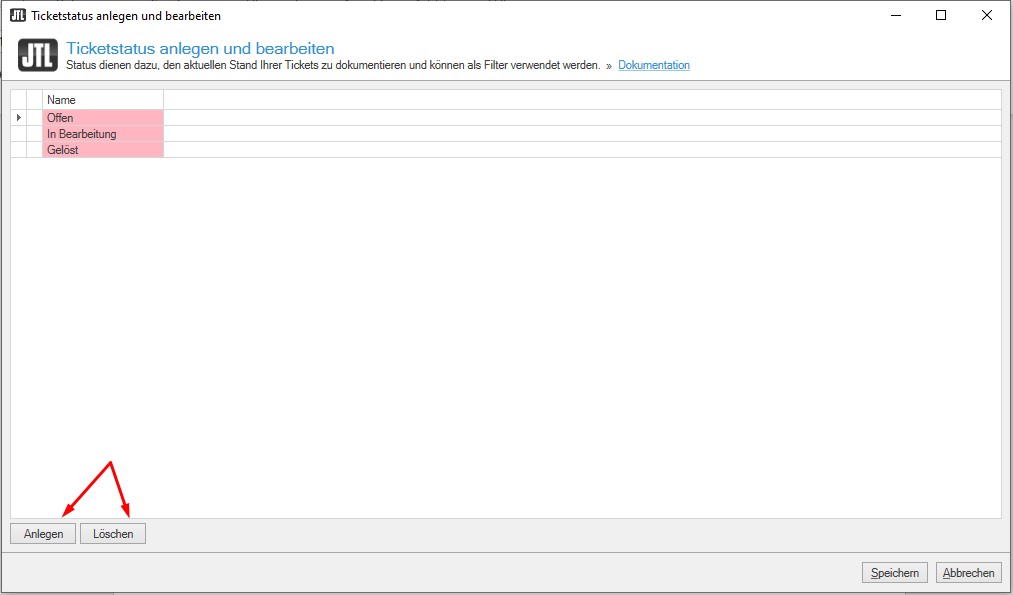
Under the menu item “Service desk / Ticket status” you can specify additional statuses for customer requests. Standard are “Open”, “In process” and “Solved”. Further status values, which are more oriented towards your processes, are added via the “Create” button and removed again via “Delete”.
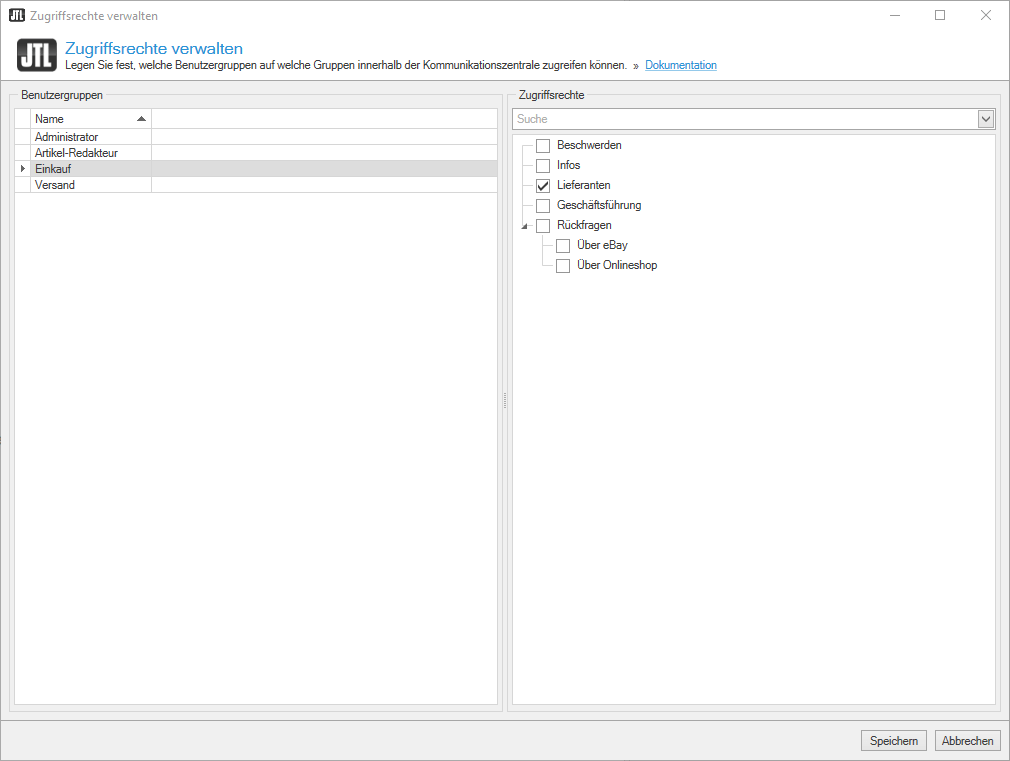
Use “Service Desk / Manage Access Rights” to define which user groups are allowed to see which labels. This way you can assign different customers to different departments and colleagues don’t get in each other’s way.
Source: jtl-software.com
Now that you have everything ready, it’s time to open the Service Desk window. You can find it in the menu almost on the far right, or by pressing Alt+S.

If no e-mail retrieval has been started or no ticket has been created yet, an empty window will now appear.
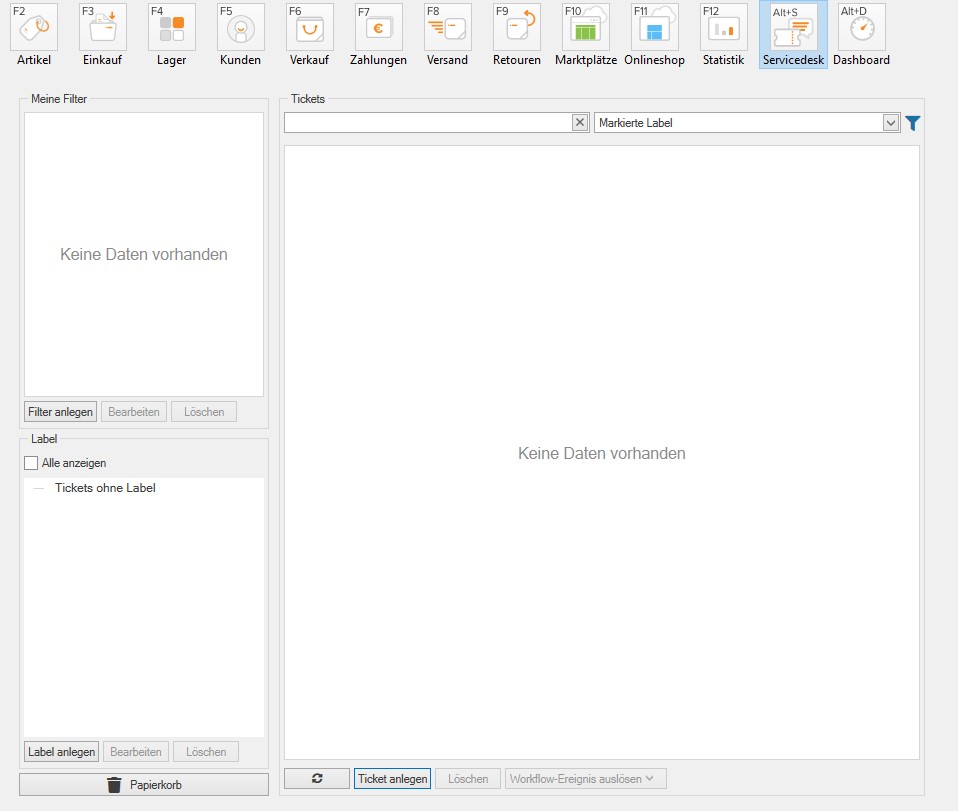
In addition to various sorting options, the creation of filters, etc., you can also create a new ticket here. Customers who like to communicate prefer to call rather than send an email. You are also well equipped for this case with the service desk. Create a new ticket using the button in the lower area and fill in the mask according to the customer.
If it is a new customer, you can also create it directly via the mask.
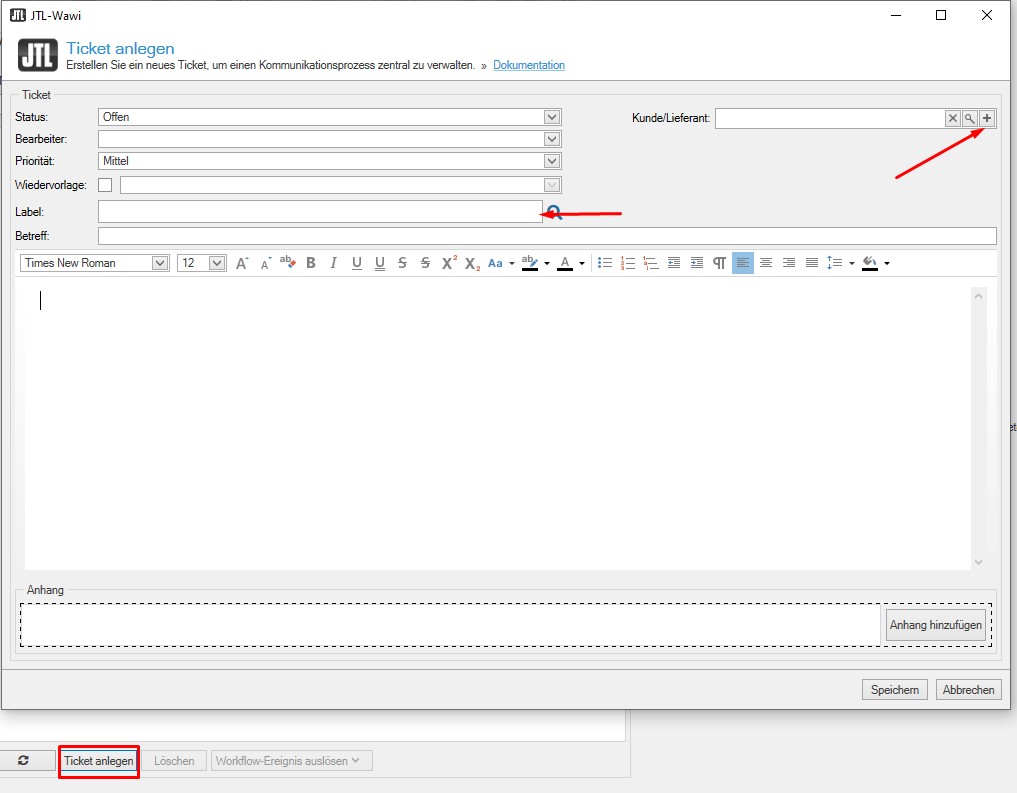
By specifying the label, you can also directly assign a team to the request, which will then take care of the processing.
JTL Service Desk Beta
Since the ticket system is still in beta, crashes may occur from time to time. Before you really use it productively, you should keep an eye on the inbox in an e-mail program in parallel. For example, there are still limitations with emails from eBay and Amazon, these are often not transferred correctly into the system. In principle, however, the system already works quite well.
We would be happy to advise you on how to use the ticket system efficiently for your company. Why not arrange a free initial consultation right away?