Task
We offer our goods at Amazon and use for this Amazon’s shipping service
Fulfillment by Amazon (FBA)
. Furthermore, we have already prepared FBA labels for our products and now we want to output them with a label printer.
The procedure
We can create and customize our label template in the template management. FBA labels can be printed either at goods receipt, via item management or when transferring goods to an FBA warehouse.
Customize FBA Labels Template
First we open the template management in the Wawi under Admin > Print / Email / Export Templates.

In the template management, we select Article Label in the overview on the left and click Create. A new template group is created, which we rename “FBA Label”. So that we don’t have to make all the settings from scratch now, we have already prepared you an FBA label template with the necessary fields. You can download them HERE.

We now click Import and select the template we just downloaded. The template is placed first in the list. We highlight it and click Edit at the bottom.

The form editor will open. Here we can design our template as we like and adjust the dimensions. The required fields are already inserted and the template is set to print an A4 page with 3×9 labels. If your printer works with other layout sizes, then you can adjust the layout area in the template settings under Project > Layout Areas.
An FBA label generally contains the barcode generated from the Amazon FNSKU, the item description, and the item condition. Depending on the type of goods we distribute, instead of a fixed value “New”, we need to link the condition of the item. The Amazon FNSKU is taken from the article master data in the “Other” tab. During an Amazon match, the Amazon FNSKU fields are automatically populated.

At this point, however, we will leave everything as it is and devote ourselves to the printout in the next point.
Print FBA labels
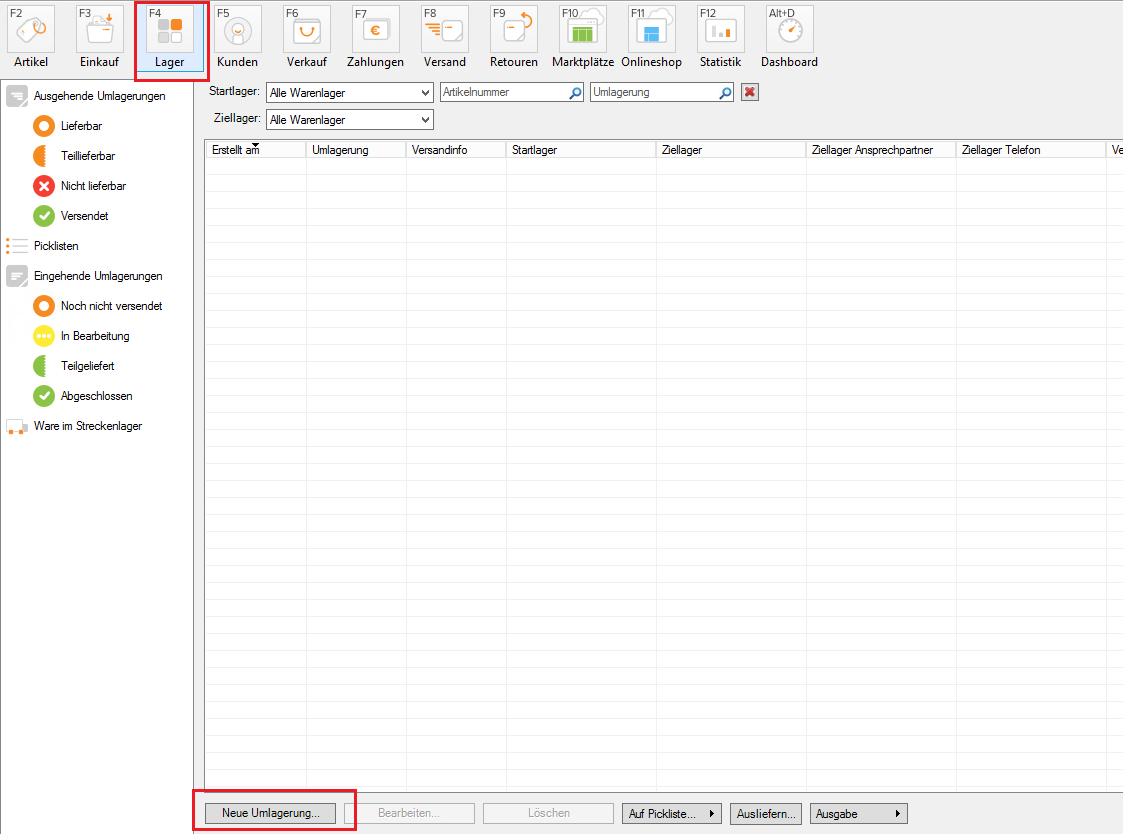
As mentioned at the beginning, we can print FBA labels either at goods receipt, via item management or when transferring goods to an FBA warehouse. We look at the last option here.
We assume that we want to make a stock transfer and switch to the Stock tab for this purpose. There we click on New Stock Transfer.
The stock transfer management opens. Here we can now prepare all articles for the stock transfer as usual. Once we have done this, we can still click on Print item labels in this mask for the selected products.

A window will now open where we can select our previously created “FBA Label”. We then confirm with Print. We can confirm our relocation by clicking Save in the previous window.

That’s it! The request is forwarded to the label printer and processed.