The aim of this article is to show you how to electronically sign invoices in PDF format in JTL-Wawi and make sure that these documents cannot be modified without losing their digital signature. This also fully complies with the legal requirements for electronic invoicing.
In JTL-Wawi there are two possibilities to digitally sign PDF documents:
- Option 1 is that you use the signature portal for this.
- Option 2 is that you use an external tool for this.
Option 2 has the advantage that you can use your own certificate and save the costs for the signature portal. The disadvantage of solution two is that you are responsible for the security of your certificate yourself and have to do a lot of preparatory work and settings until JTL-Wawi digitally signs PDF invoices.
In addition, we have explained in a separate article how to send invoices automatically in JTL-Wawi.
Left:
X Certificate and Key Management:
https://sourceforge.net/projects/xca/
PortableSigner:
https://sourceforge.net/projects/portablesigner/files/portablesigner/2.0-Release/
Java Cryptography Extension (JCE) Unlimited Strength Jurisdiction Policy Files 7:
https://www.oracle.com/technetwork/java/javase/downloads/index.html
Installing X Certificate and Key management
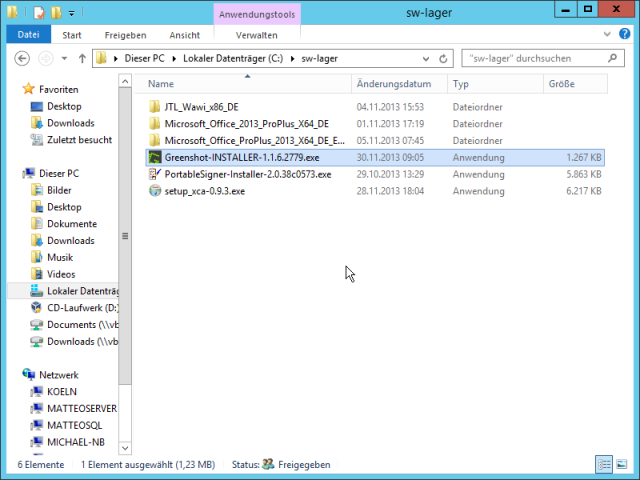
In the first step you download X Certificate and Key management and install the software on the central PC that provides the JTL-Wawi database. Start the setup_xca-0.9.3.exe with a double click.
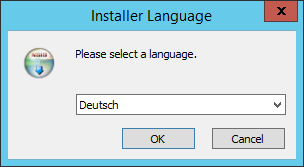
Select “German” as the language and click “OK“.
Accept the license agreement by clicking the “Accept” button.
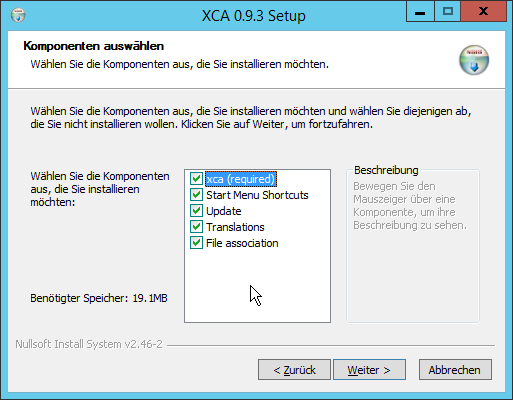
Select all components and click “Next“.
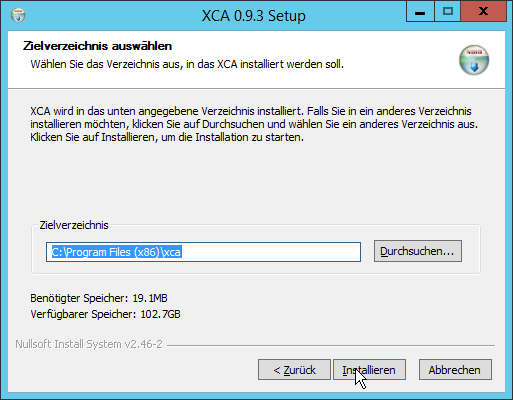
Leave the settings for the target directory as they are and click “Install“.
Complete the installation by clicking on “Finish“.

After installing the software, we set up our own certificate authority with which we can create certificates for our company. In the next step we now need to create a so-called root certificate, on which the other certificates we issue will then be based.Create root certificate
So start X Certificate and Key management from the Start menu.
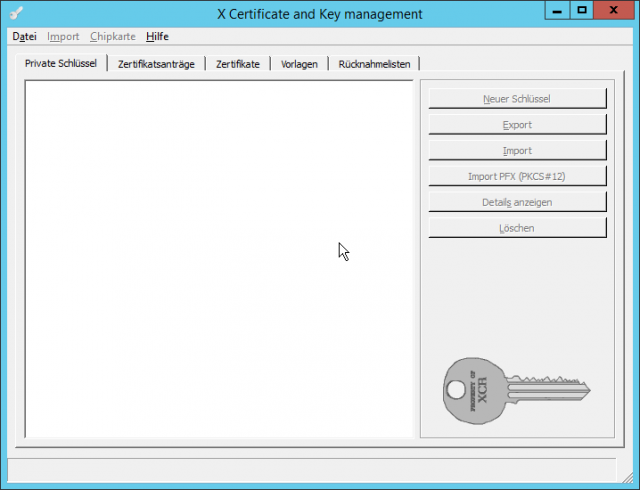
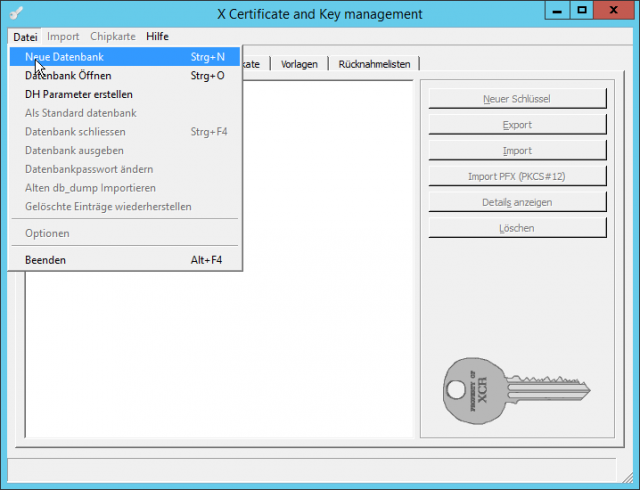
The first thing we need to do is create a new database for our certificates. To do this, we click on “File” in the menu and then on “New database“.
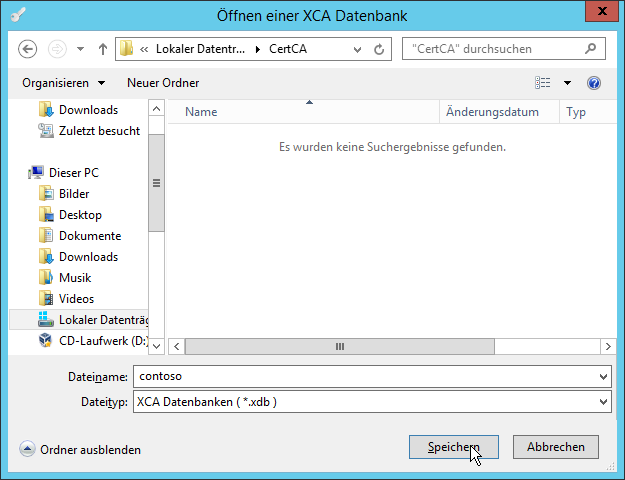
Under File name, assign a new name for the database, e.g. contoso, and clickSave.
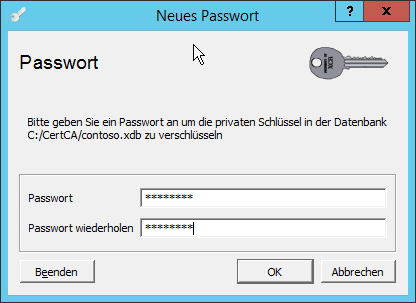
In the next step you need to assign a password for the database. Make a note of the password and then click “OK“.
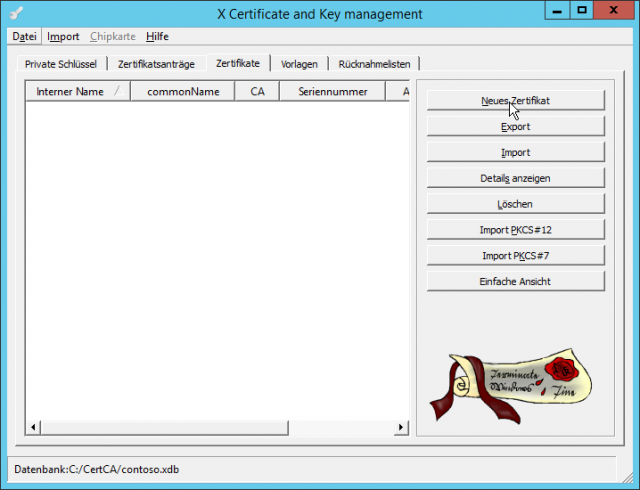
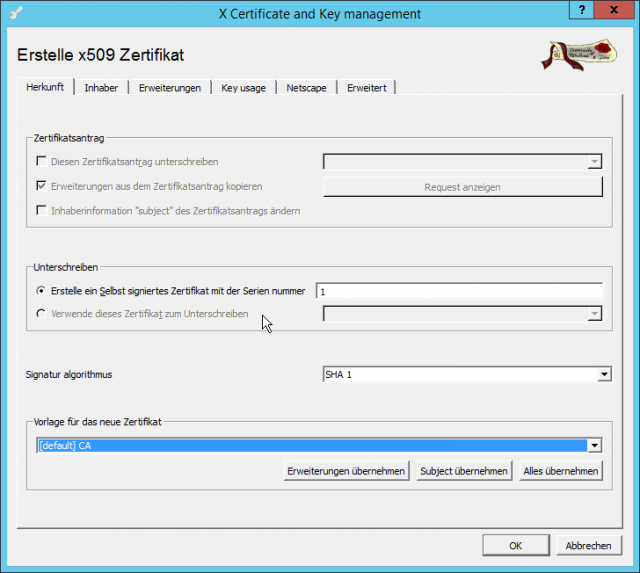
Once you have created the database, you can start creating the root certificate. To do this, click the “New certificate” button on the right side of the window.
In the “Create x509 certificate” window, select CA at the bottom as the template for the new certificate (default).
Switch to the “Holder” tab. Here we must first create a new key. To do that, click the “Create a new key” button at the bottom right corner.
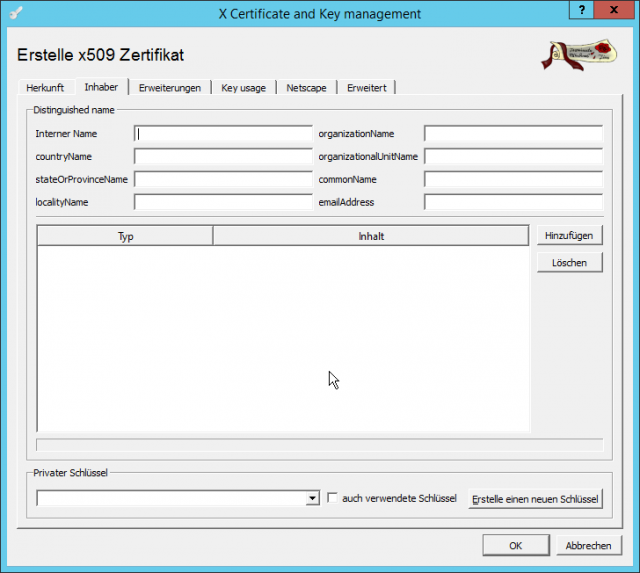
Assign “rootkey” as the name, select RSA as the key type, and set the key length to 2048 bits. With a click on “Create” the new key is created.

You can confirm the message about the successful creation of the RSA private key with “OK“.

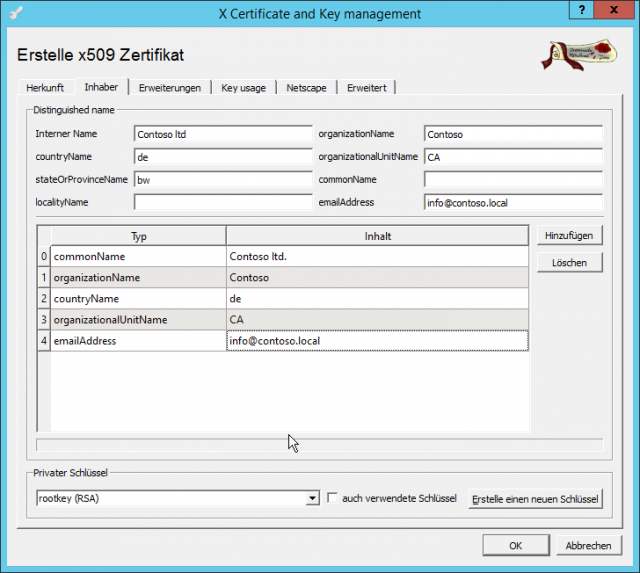
Fill in the fields under Distinguished name as shown in the screenshot on the left. Via Add you still put the information
- commonName
- organizationName
- countryName
- organizationalUnitName
- emailAddress
and fill them in as well.
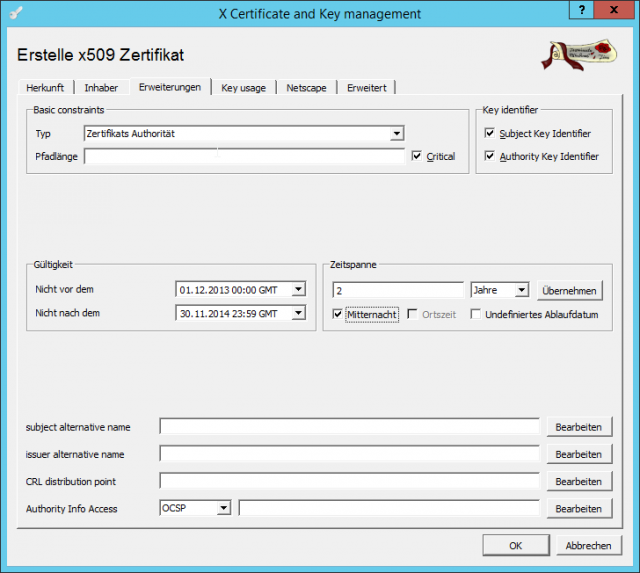
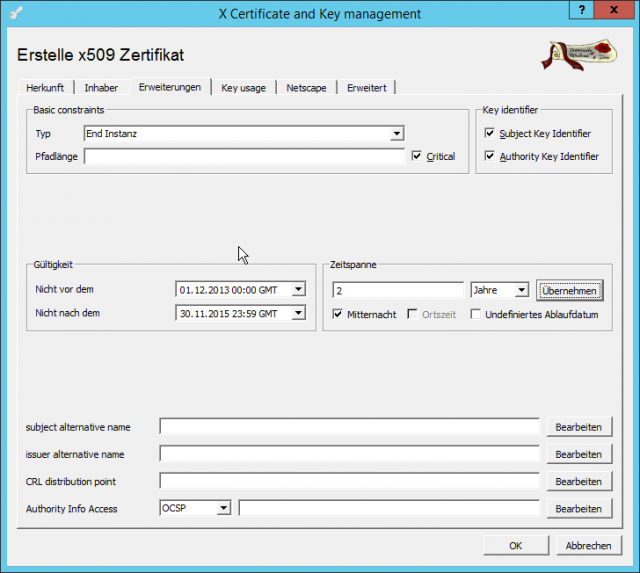
In the Extensions tab set the period of validity of the certificate to 2 years and then click the “Apply” button.
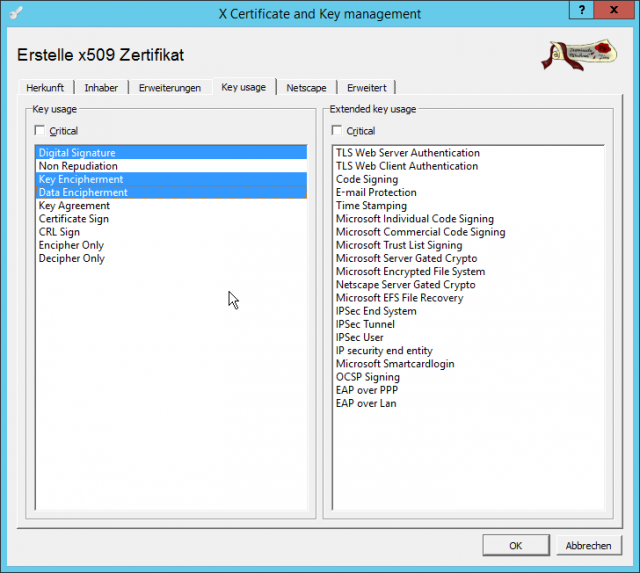
In the Key usage tab, select the Certificate Sign and CRL Sign entries, which should then be highlighted in blue as shown in the screenshot on the right.
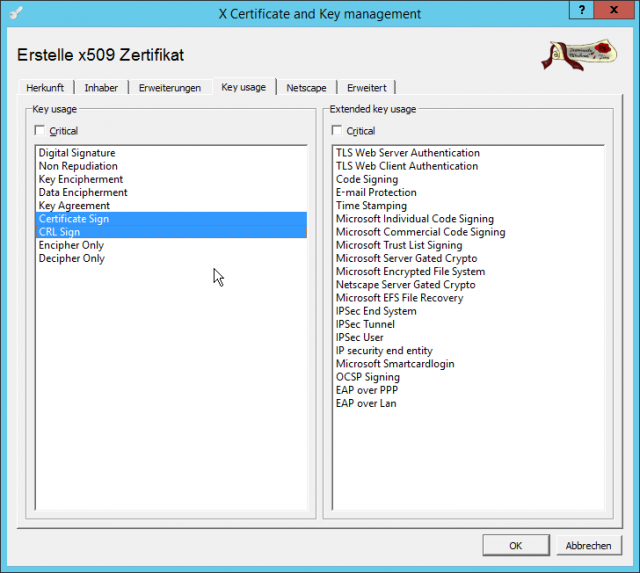
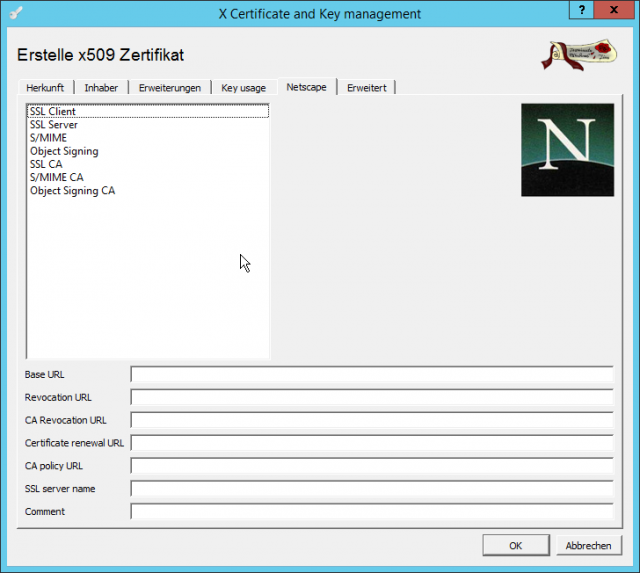
Finally, check that no entries have been made in the Netscape tab and that no selection has been made. If everything is ok we click on “OK“.
Finally, we receive the message that the certificate has been successfully created. We confirm the message again by clicking on “OK”.
x.509 Create certificate for the signature
After we have created our root certificate, we can create the actual certificate for signing the PDF invoices. In principle, it is almost the same steps as creating the root certificate.
Let’s click the “New certificate” button again.
This time we select “(default) HTTPS_client” as template.
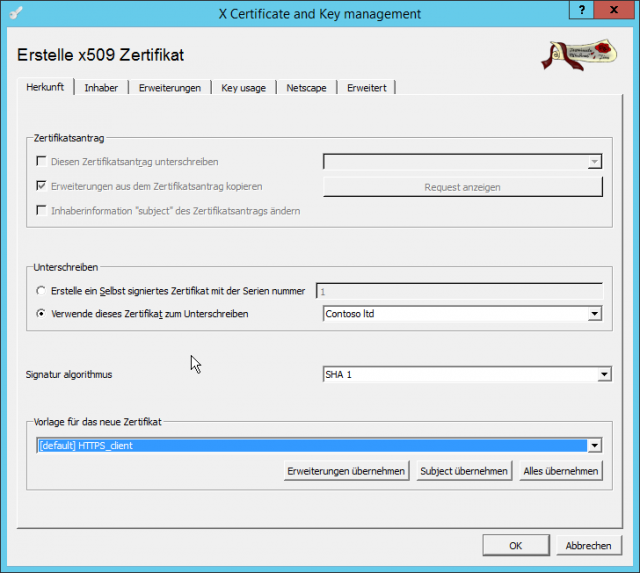
We switch to the “Owner” tab and click the “Create a new key” button at the bottom.

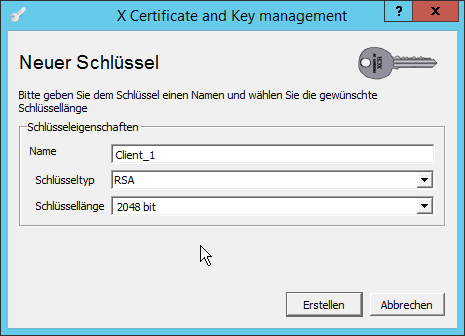
We assign a name for the new key, e.g. Client_1, select RSA as the key type and set the key length to 2048 bits again. Then we click the “Create” button.
The subsequent message about the successful creation of the key can be confirmed by clicking the “OK” button.
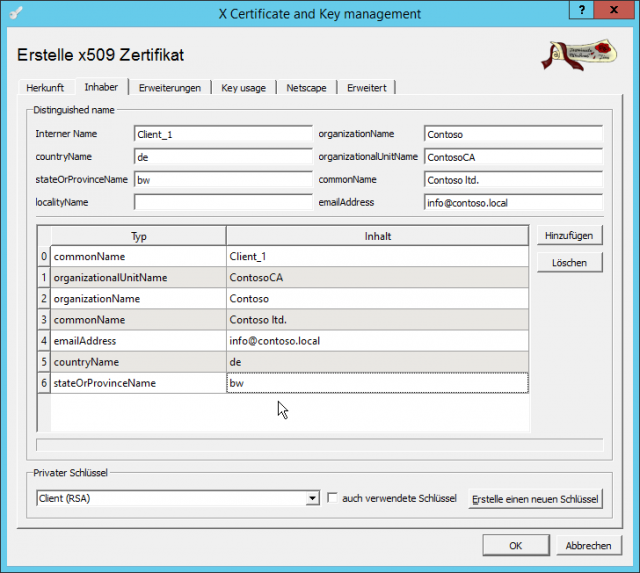
Now we can fill in all the fields under Distinguished name and add the following fields using the Add button:
- commonName
- organizationalUnitName
- organizationName
- emailAddress
- contryName
- stateOrProvinceName
In the Extensions tab we also set the time span to 2 years and click the “Apply” button.
In the Key Usage tab we select Digital Signature, Key Enciphement and Data Enciphement.
In the Netscape tab we check again that no selection has been made and no fields are filled in. After that we click the “OK” button.

We acknowledge the message that our certificate has been successfully created by clicking on the “OK” button.
Export of the client certificate
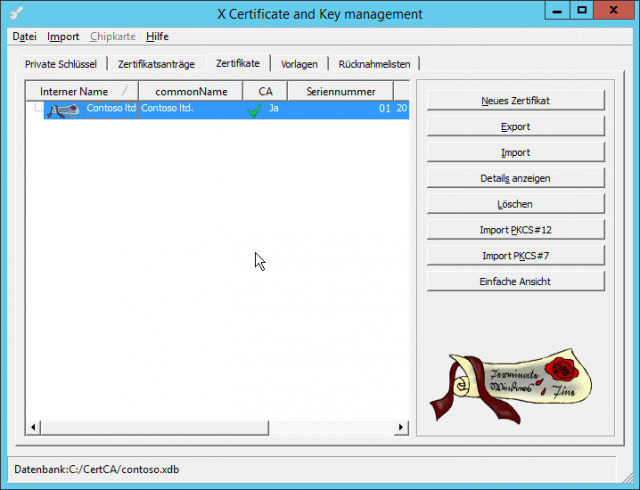
For the digital signature of the invoices in PDF format, we now need to Export the certificate
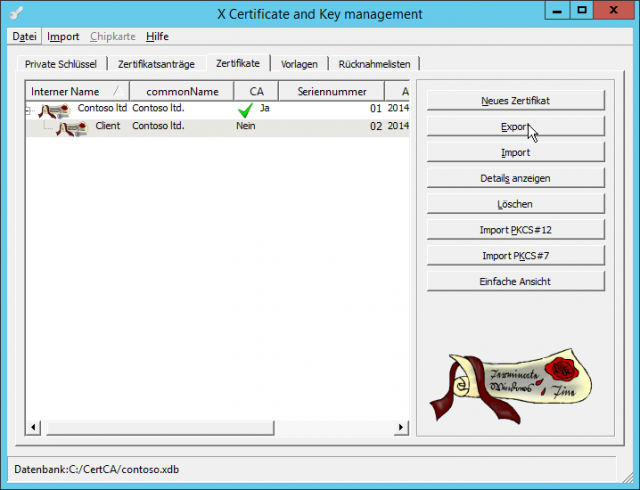
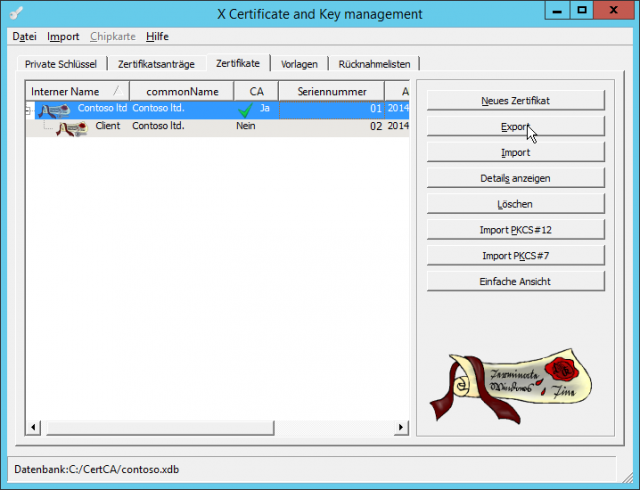
We highlight the last created client certificate and click the “Export” button.
In the “Certificate Export” window, we first select the PKCS #12 export format. After that we select a location/name for the certificate and click “OK“.
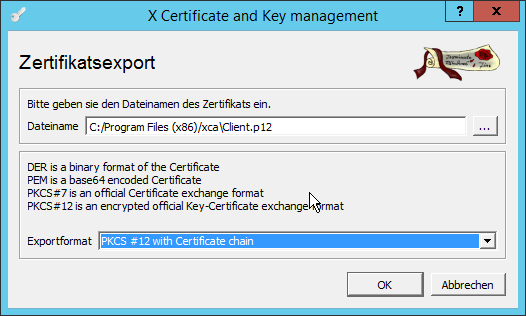
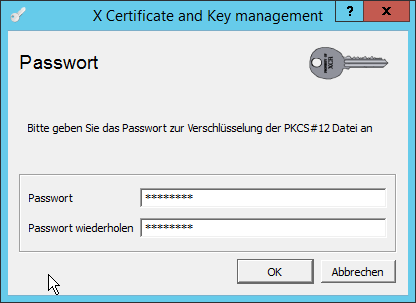
For the encryption of the PKCS#12 file we still have to assign a password. We make a note of this again and then click on the “OK” button.
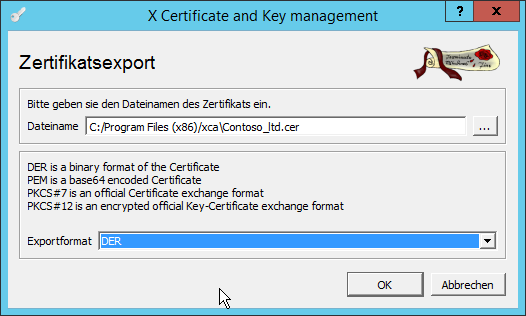
We repeat the export process for the root certificate. Both are then installed into the computer’s certificate store. So mark the top certificate and click on the “Export” button.
This time we set DER as the export format. Assign the location and name, then click the “OK” button again.
Installing the certificates
It is not mandatory, but highly recommended to install the certificates on the client PC after they have been created.
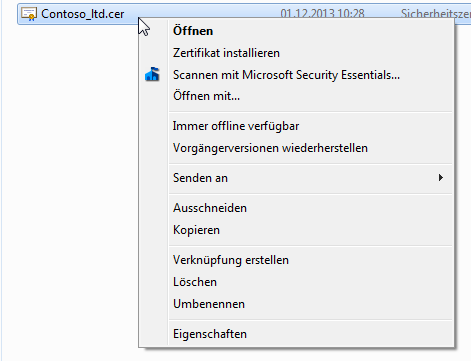
Installing a certificate in Windows is relatively simple. Select the certificate, click the right mouse button and then click Install Certificate. We do this first with the root certificate that we created earlier.
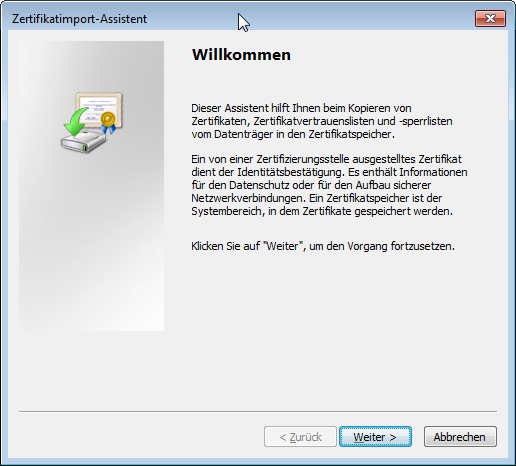
In the certificate import wizard, click “Next“.
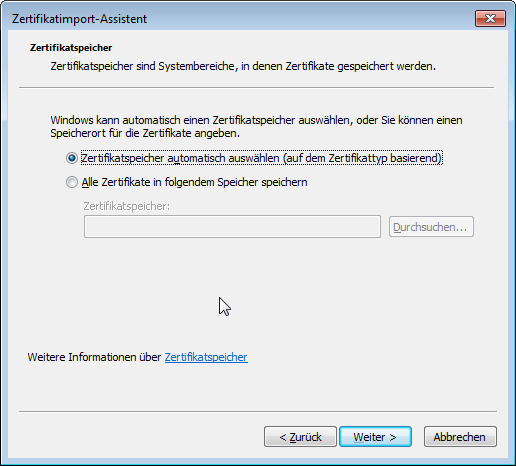
Select Select certificate store automatically and clickNext.
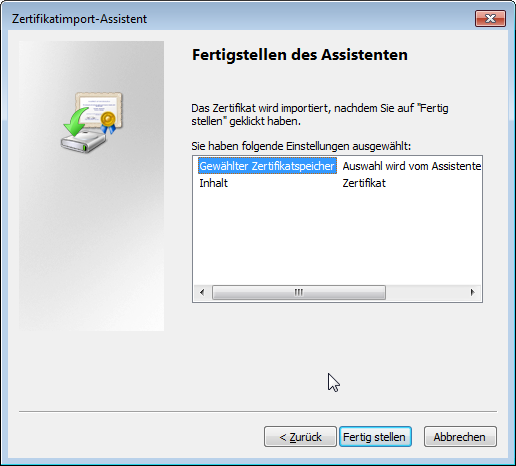
Finally, just click on Finish.
The message about the successful import process can be confirmed by clicking the “OK” button.
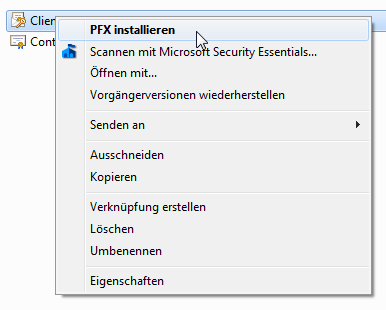
In the next step we install the client certificate. We right-click our *.p12 client certificate and click Install PFX.
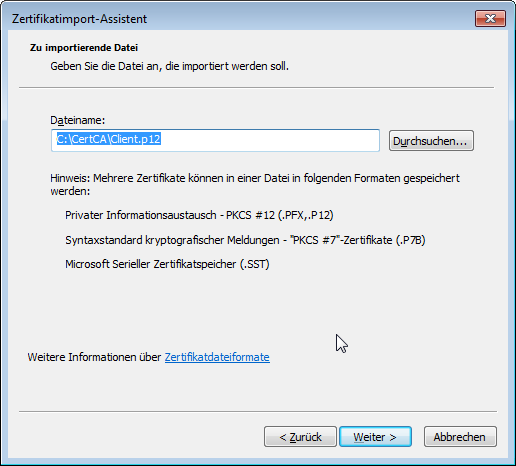
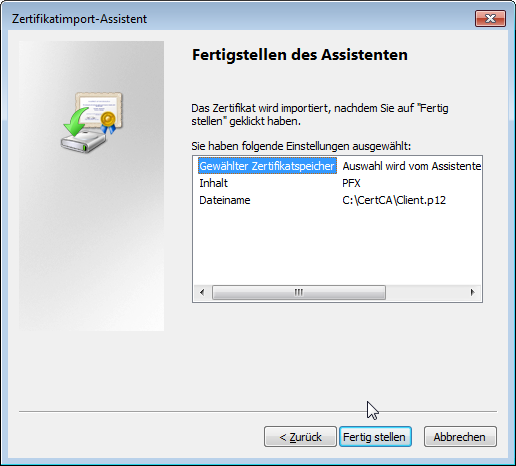
We click “Next” in the certificate import wizard.

Check again if it is the right file and then click on “Next“.
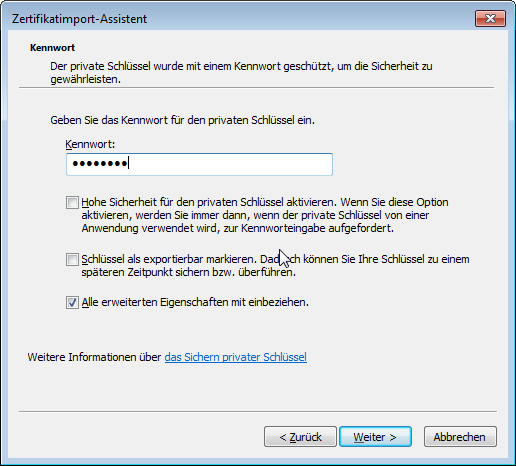
Now we need to enter the password we gave when exporting the key and click on “Next“.
Now click on “Finish“.
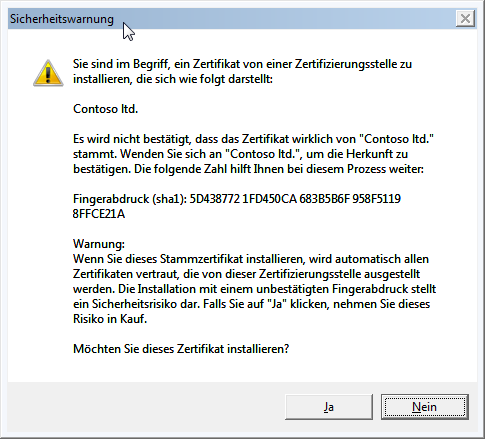
Confirm the security warning by clicking “Yes“.
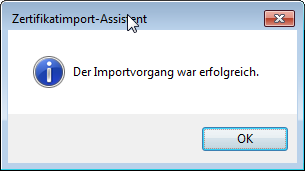
And finally, close the message about the successful import process by clicking the “OK” button.
Installation PortableSigner
To add a digital signature to our invoices in PDF format, we need a small utility on all computers called PortableSigner. At the top of the article you will find the download link. In addition, two special security policy files for the Java Runtime have to be exchanged so that our utility can do its job.
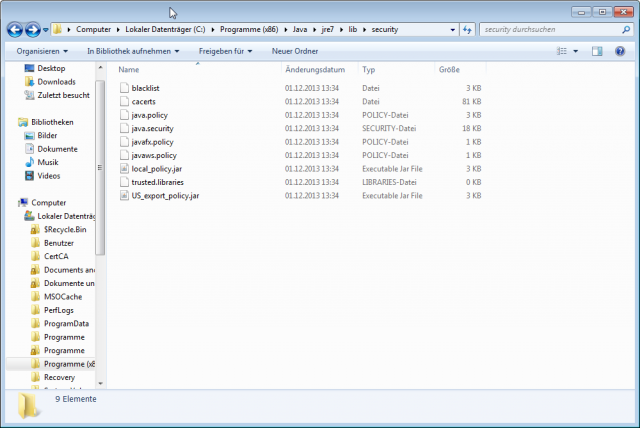
Copy the two files from the Java download(UnlimitedJCEPolicyJDK7.zip) into the directory of your Java installation, e.g.:C:Program Files (x86)Javajre7libsecurity
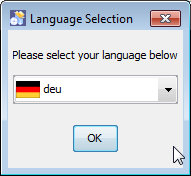
Afterwards you can start the PortableSigner-Installer-2.0.38c0573.exe file with a double click. Select German as the language and click “OK“.
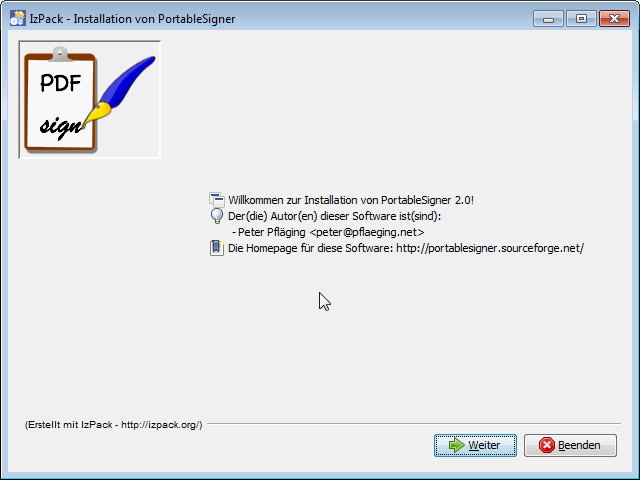
Just click on “Next”.
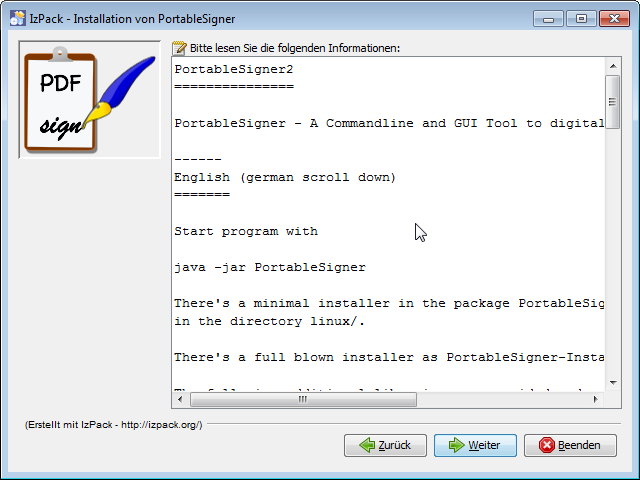
Skip installation information by clicking “Next“.
Accept license agreement and click “Next“.

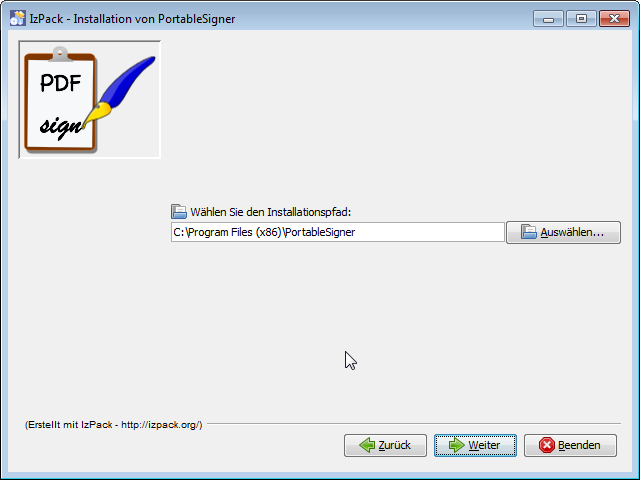
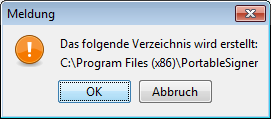
Leave the path details as they are and click on “Next“.
Close the message by clicking the “OK” button.
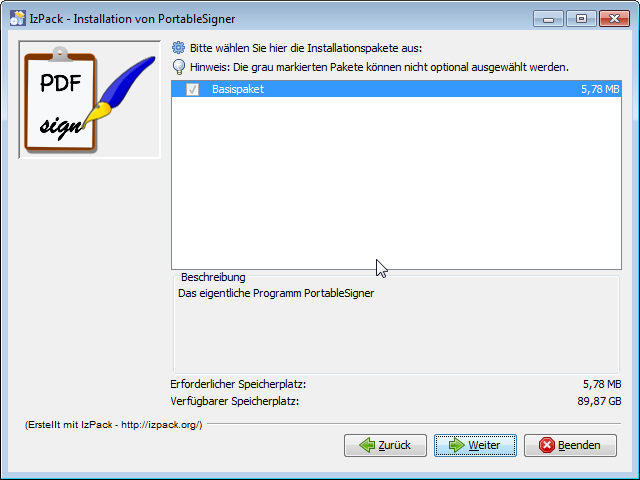
Select installation package base (there is no other…) and click “Next“.
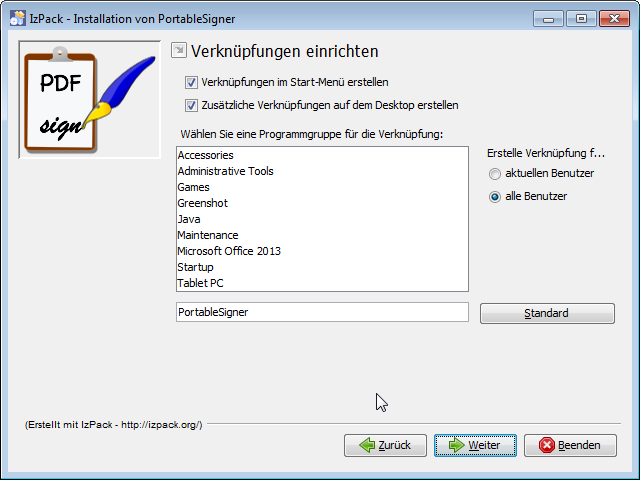
Leave the settings under “Set up shortcuts” as they are and click “Next“.
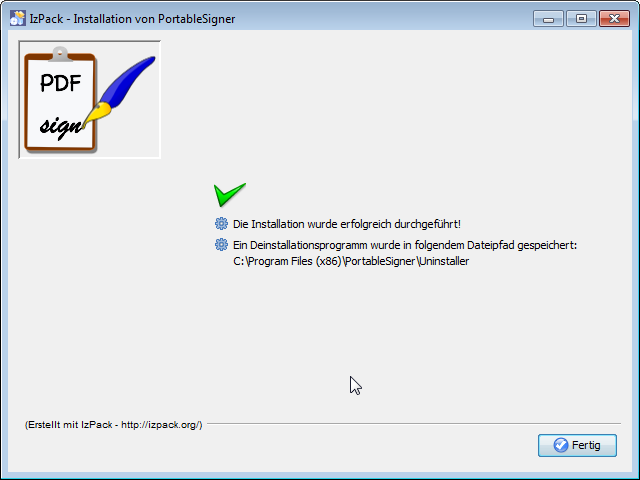
PortableSigner is installed.
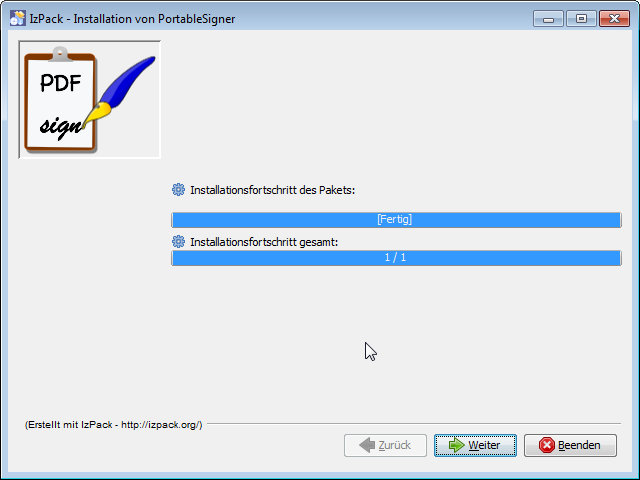
Finally, finish the installation by clicking the “Done” button.
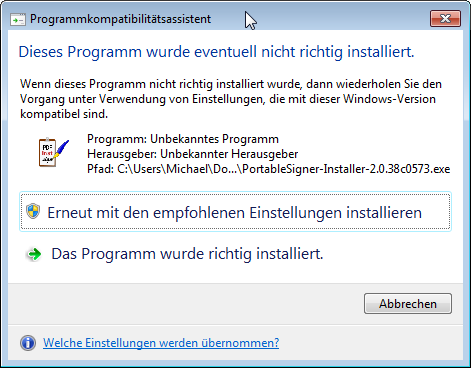
Windows 7 then reports that the program may not have been installed correctly. You can click away this by clicking on “The program was installed correctly.“.
Digital signature test
Before we customize JTL-Wawi and send digitally signed invoices, we run a small test with PortableSigner to make sure that our certificate and the software work properly. For this we need an unsigned PDF, for example an invoice from JTL-Wawi.
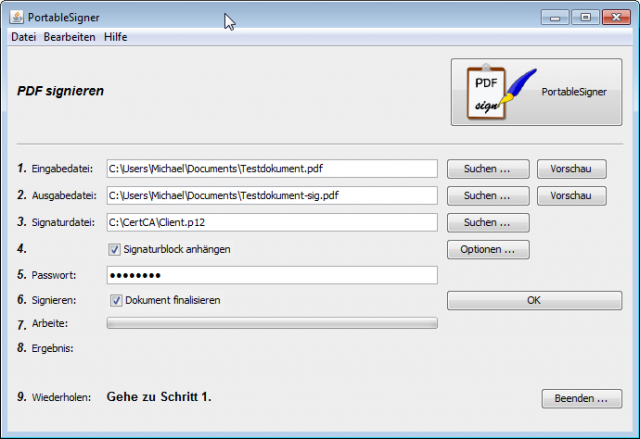
Let’s start PortableSigner from the Start menu.
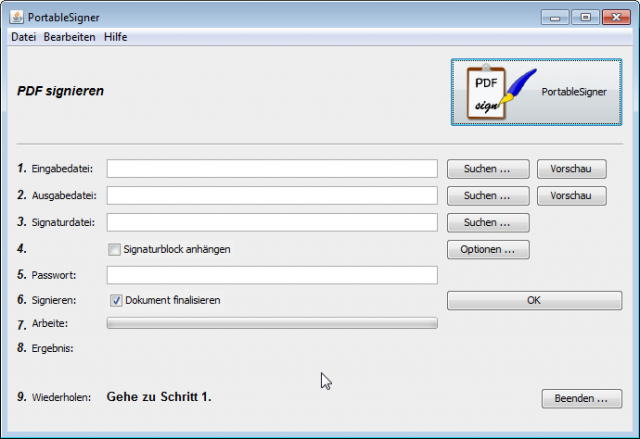
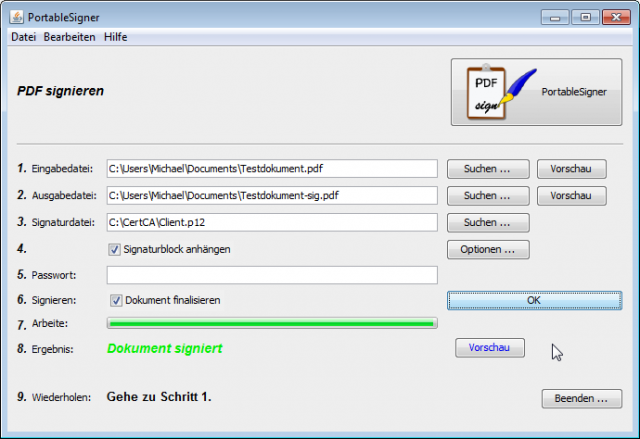
First we select the input file with the “Search” button in line 1 under Sign PDF. After that we specify the output file,resp. Apply the default setting. In line 3 we select the x.509 certificate with the p12 file extension. In line 4 we mark Append signature block and in line 5 we enter the password for the certificate. After that we can create the new PDF with signature by clicking the “OK” button.
If everything is set up correctly, we keep at the end in line 8 as result in green: “Document signed“.
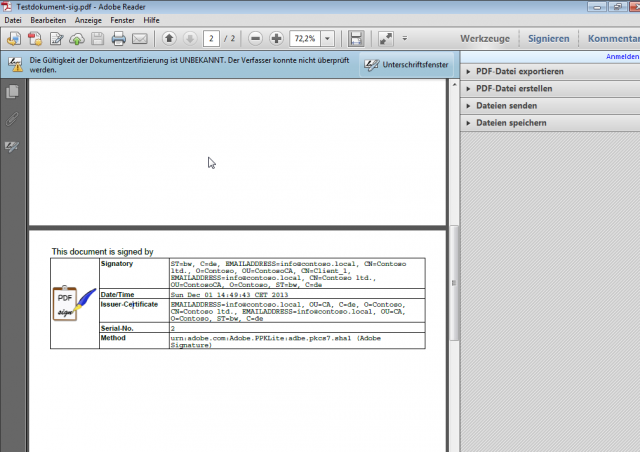
When we open the new document in the Adobe PDF reader, the signature is visible at the end on a new page.
Automatically send JTL-Wawi invoices via script or workflow
So far, we have our own functioning certificate authority and the ability to digitally sign PDF documents with a certificate. With many invoices a day that need to be sent by mail, the approach shown in the test is quite ineffective. That’s why we write ourselves a small batch file based on the default of JTL software(https://wiki.jtl-software.de/index.php?title=Kategorie:JTL-Wawi:Workarounds). Unfortunately, the documentation on this is a bit sparse. It took me one post on the forum and some playing around to solve the puzzle.
First we build a batch file with the editor or notepad and insert the following content:
java -jar C:Program Files (x86)PortableSignerPortableSigner.jar-n -t %1 -o %1_ -s <Pfad>Client.p12 -p <Kennwort>
copy %1_ %1
del %1_
We replace the placeholders <Path> and <Password> with the path to our certificate in the network or on the local hard disk and under Password we enter the password for our certificate.
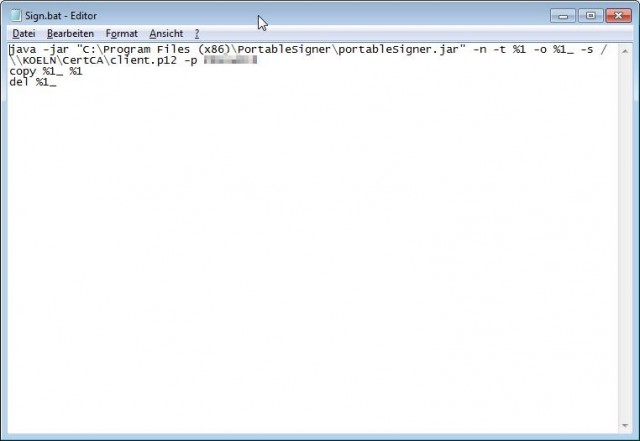
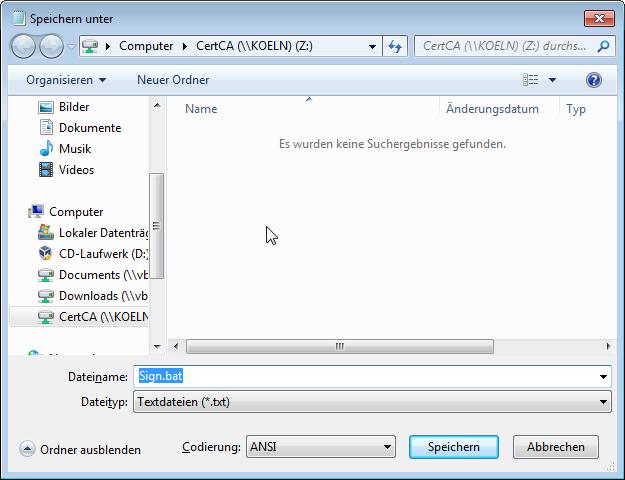
We then save this file with the name Sign.bat. I used a network share on my test server here.
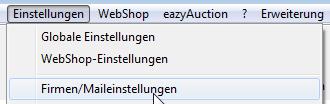
We now switch to JTL-Wawi and call up the Company/Mail settings in the Settings menu.
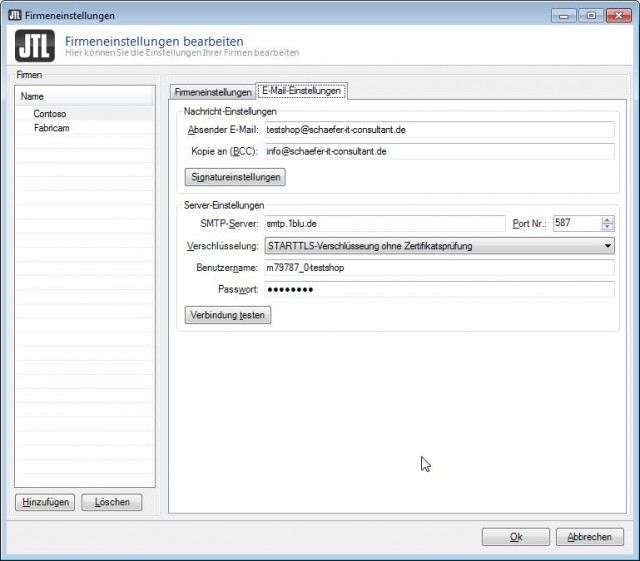
 Select the corresponding company and switch to the E-mail settings tab. Here we click on the “Signature Settings” button.
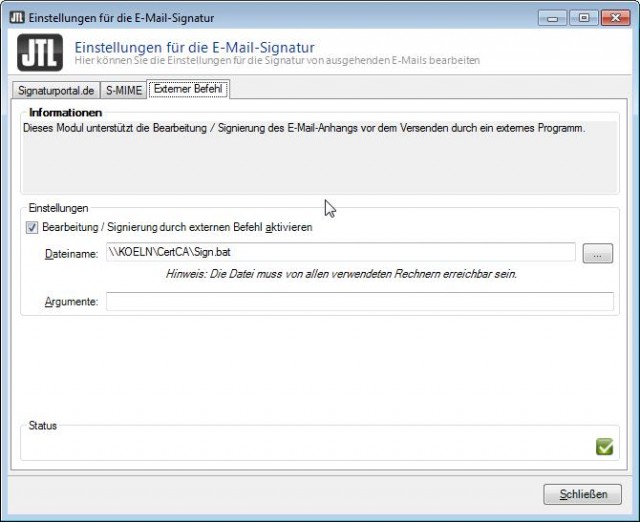
In the settings for the e-mail signature, we switch to the External command tab and check “Enable editing /signing by external command“. Then we enter the path to Sign.bat or search for the file by clicking on the button with the 3 dots […].
Do not forget to leave the File name field by pressing the Tab key, otherwise the changes will not be applied!
When the green box with the checkmark appears at the bottom everything is fine and we can exit the window by clicking on “Close“. The company/maile settings can also be closed with a click on “OK“.
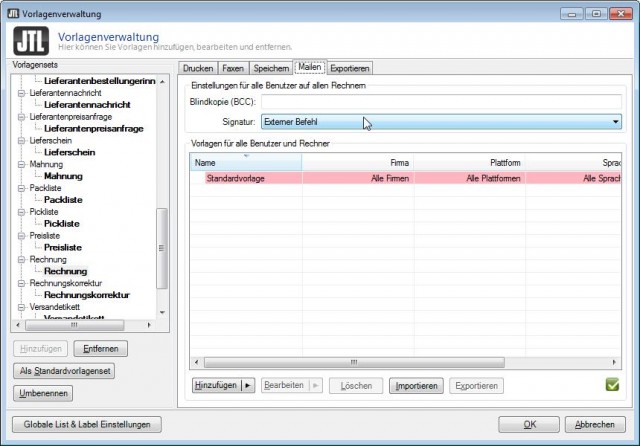
Now we still need the template management, which unfortunately only stands here. Here we need to find our invoice template in the tree structure, select it and switch to the Mail tab on the right. Here we then select external command under Signature and close the window by clicking the “OK” button.
At this point we can also add a recipient for a copy of the message under blind copy (BCC), such as rechnungsausgang@contoso.local.