JTL-Wawi is a client-server application by design. This means that the JTL-Wawi database is provided centrally on a server in the network and only the client application is provided on the PC workstations. Personally, I prefer this configuration, because when using a server, the security and availability of the solution is guaranteed.
System requirements:
- Windows XP SP3, Windows Vista, Windows 7 or 8 all editions
- .Net Framework 4.0 installed (installation guide)
- Database Server with Microsoft SQL Server installation.
Step 1: Installation of JTL-Wawi
In principle, the installation differs only slightly from the single-user installation. Nevertheless, here are all the individual steps once again.
Step 1: Installation of JTL-Wawi
JTL-Wawi download from the JTL software homepage and place the installation file centrally in a folder share. Copy this file to the PC workstation(s) and start it. Confirm the welcome page with “Next”.

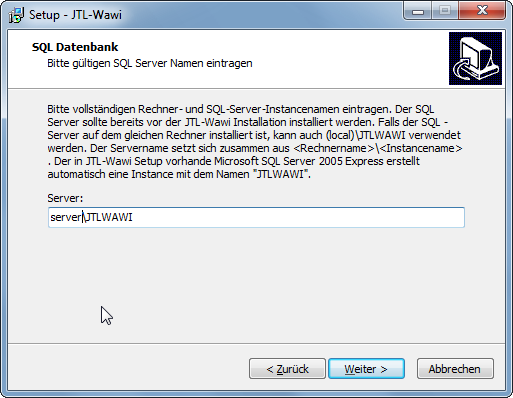
Change the server here to the name of your database server (the computer on which the SQL server and the JTL-Wawi database is installed), followed by the instance name separated by a back-slash. So the name is composed as follows , e.g. serverJTLWAWI. After that, click on “Next”.
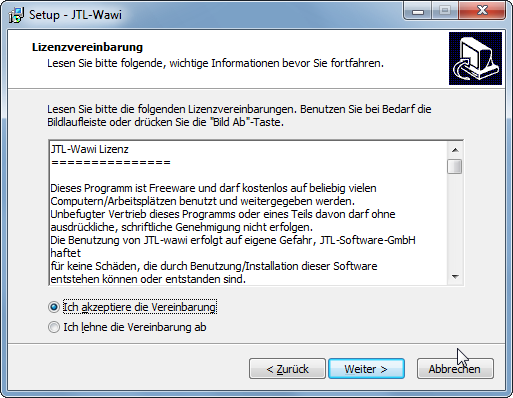
Accept the license agreement and click “Next”.
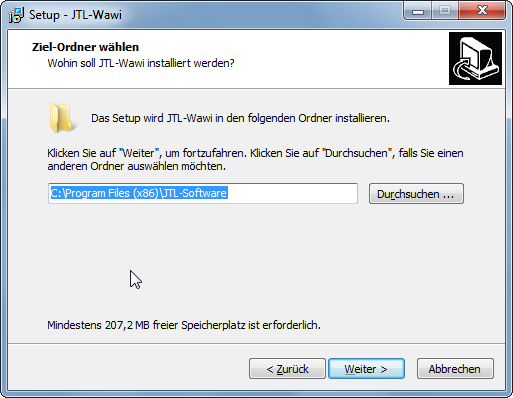
Leave the destination folder and click “Next”.
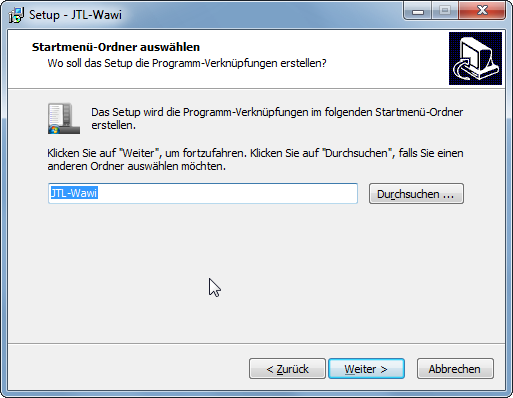
You can accept the start menu folder in this way and click “Next”.
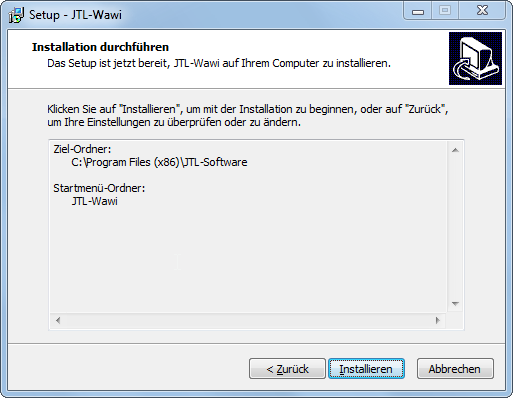
The installation is started with a click on “Install
Deselect Show Readme.txt and click Finish.

Step 2: Customize ODBC settings for 64 bit systems
For 64 bit versions of Microsoft operating systems it is still recommended to check the 32 bit ODBC settings after installation and adjust them if necessary.
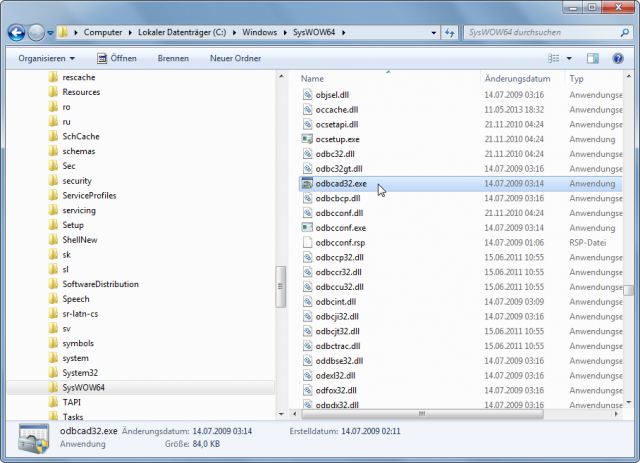
You cannot manage the 32-bit ODBC settings from the system controls. To do this, you must either start the odbcad32.exe file from the C:WindowsSysWOW64 directory or enter the file name under Start → Browse Programs/Files.
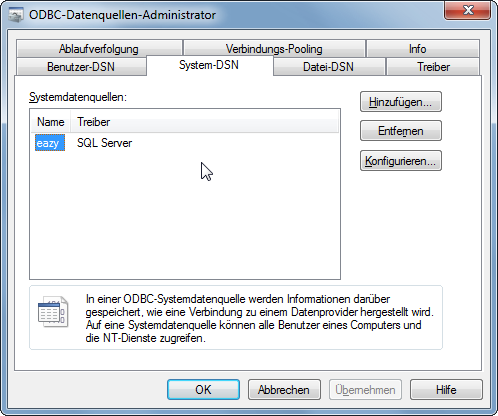
Switch to the System DSN tab. If there is no eazy entry here. Click Add and select SQL Server as the driver. Otherwise, click on “Configure”. Do this even if you have recreated the system DSN.
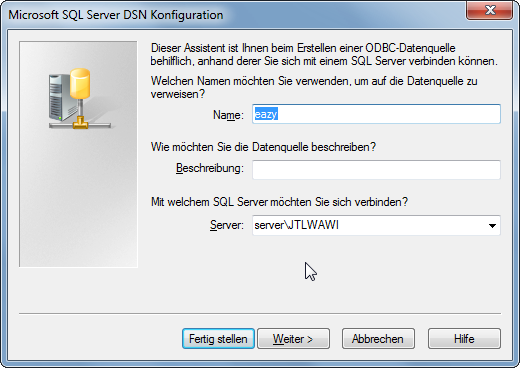
As name should be entered here eazy and under server , e.g. serverJTLWAWI. Next
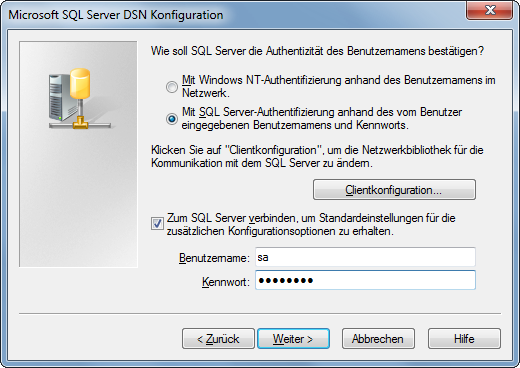
Select SQL Server Authentication and enter sa and the corresponding password under User name. Next.
Change default database to eazybusiness and continue.
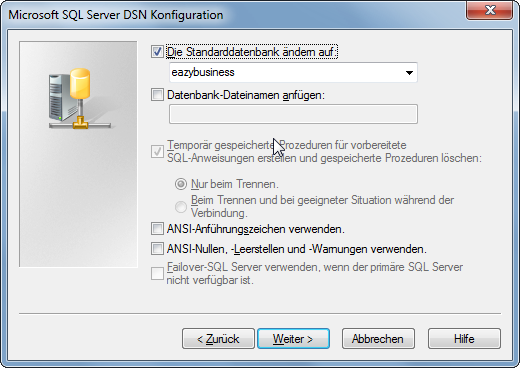
End the dialog with “Finish”.
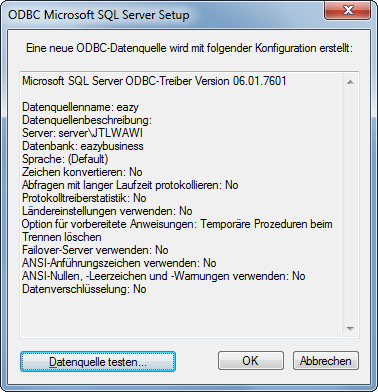
Check the ODBC SQL Server setup by clicking on “Test data source”.
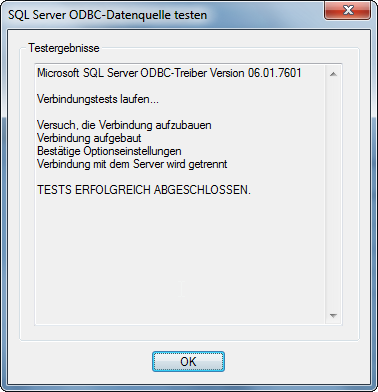
When you get the message TESTS SUCCESSFULLY COMPLETED, you can close all windows and start JTL-Wawi.