JTL-Wawi Create and edit suppliers
Before you can add products to the purchase list manually or via the order suggestions to trigger price inquiries or purchase orders, suppliers must be created and the products assigned to the suppliers.
If you are a producer of your own products, it is recommended that you create yourself as a supplier in order to create an interface between production and distribution of the goods. In the following we would like to describe how the creation of suppliers in JTL-Wawi works.
Update: This post from 07.11.2013 was updated on 01.06.2023.
Create new suppliers
First click on the “Procurement” button in the main menu
Now, using the categories on the left, select the Suppliers category and then click the “Create” button. Now the dialog window “Create/edit supplier” opens.
The following is an explanation of what information must be entered in each field.
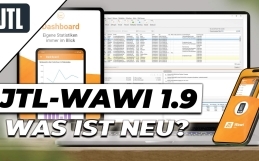
General
All important supplier information can now be entered in the “General” card. As a minimum, the company, street, postal code and city must be entered here. Furthermore, the following information can be filled in – however, some of this data is optional:
- Own customer number – here you assign an own customer number for the supplier.
- Supplier number – here you enter your customer number at the supplier.
- Company – the company name of the supplier
- Contact – Your main contact at the supplier
- street, zip code, city, country – the address data of the supplier
- Country/Language – The country in which your supplier is located.
- Tel. Head office, Tel. Extension, fax, e-mail, WWW – the supplier’s contact information.
- UStID – the VAT ID of the supplier
- Currency – Which currency is used for the supplier
- Vendor number – under which vendor number your supplier is managed in the accounting (the vendor number is currently still irrelevant and is only used for viewing)
- Notes – here you can store notes about the supplier
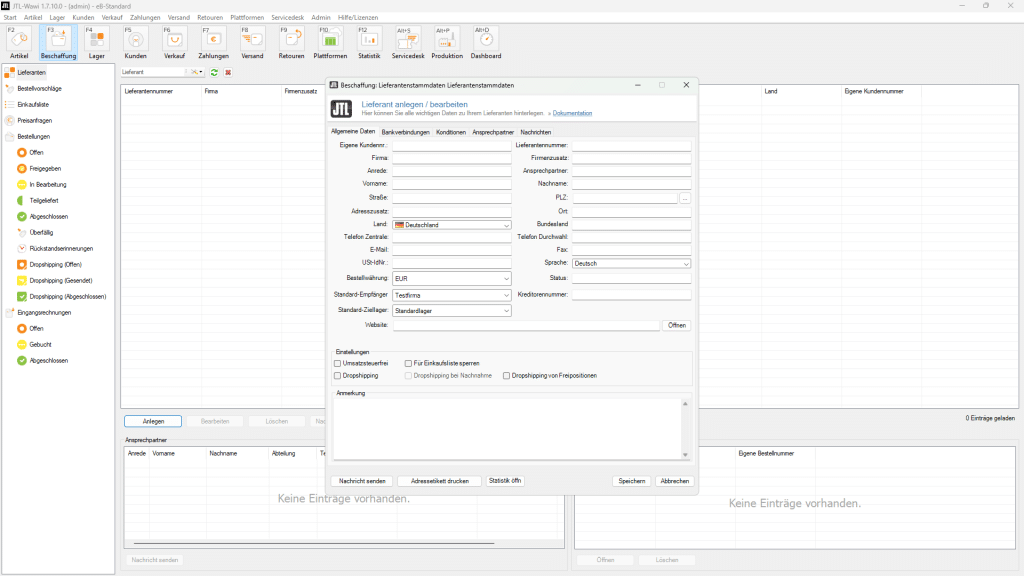
Bank details
The supplier’s bank details for payment transactions can be stored here. New bank accounts are created with Add, existing ones are changed with Edit and removed with Delete.For a bank account, the following data must be stored in principle:
- Bank account holder
- Institute with which the bank account exists
- AccountNo. of the supplier at the institute
- Bank code of the institution
- IBAN for international payment transactions
- BIC the international bank code
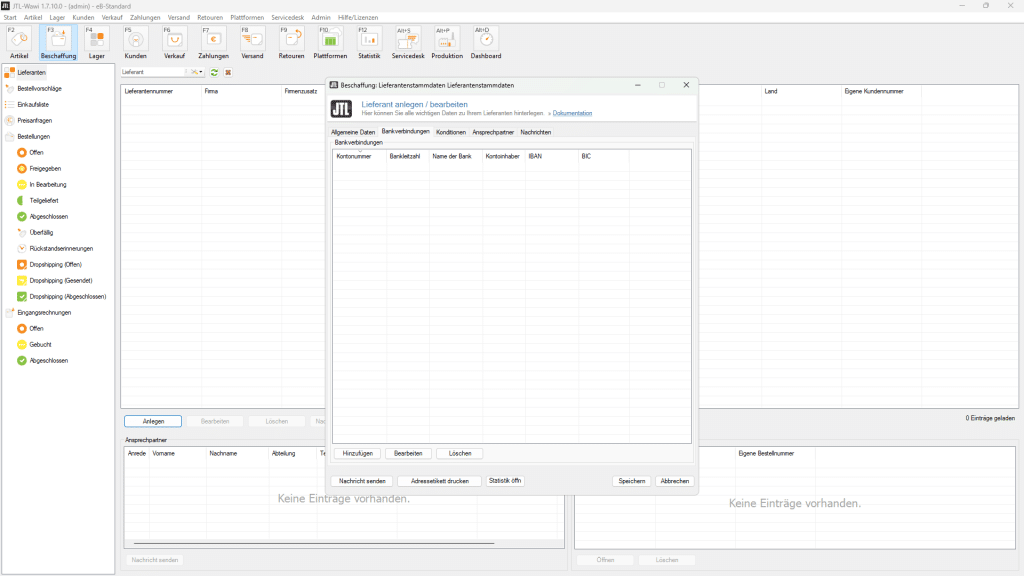
Conditions
In the Conditions tab, you enter the delivery conditions.
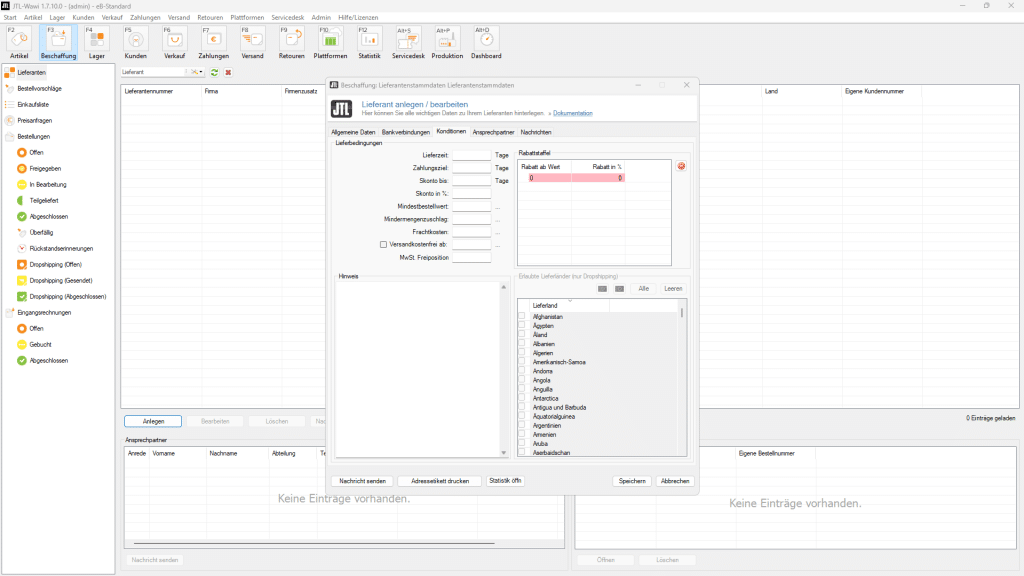
- Delivery time – On average, how long does it take the supplier to deliver the ordered goods to you? The value stored here is also a criterion in the shopping list. This value is used to determine the “fastest supplier” in the “shopping list”. So, should you use more than one supplier for an item, where one supplier is more expensive than the other, but can deliver the goods faster. Have the option to decide whether to use the cheapest or the fastest supplier according to the order situation. You can learn more about this in the shopping list.
- Payment Term – How long you have to pay off the vendor.
- Discount to – Provided that you pay an invoice in the period x, you have the possibility to…
- Discount in % – …discount in % to be deducted.
- Minimum order value – A minimum order value that you must reach to place an order.
- Shortage surcharge – If the minimum order value is not reached, you will have to pay a shortage surcharge of x.
- Freight costs – What freight costs does the supplier charge?
Free shipping from – When will the shipping costs not be charged?
Contact
In the Contact persons tab you manage your contact persons at the supplier. In the list you can see the most important contact information for each contact person, such as name, phone number, fax, e-mail, department and mobile phone number. With Add you create new contacts, with Edit you can change entries in the list and with Delete you can remove them.
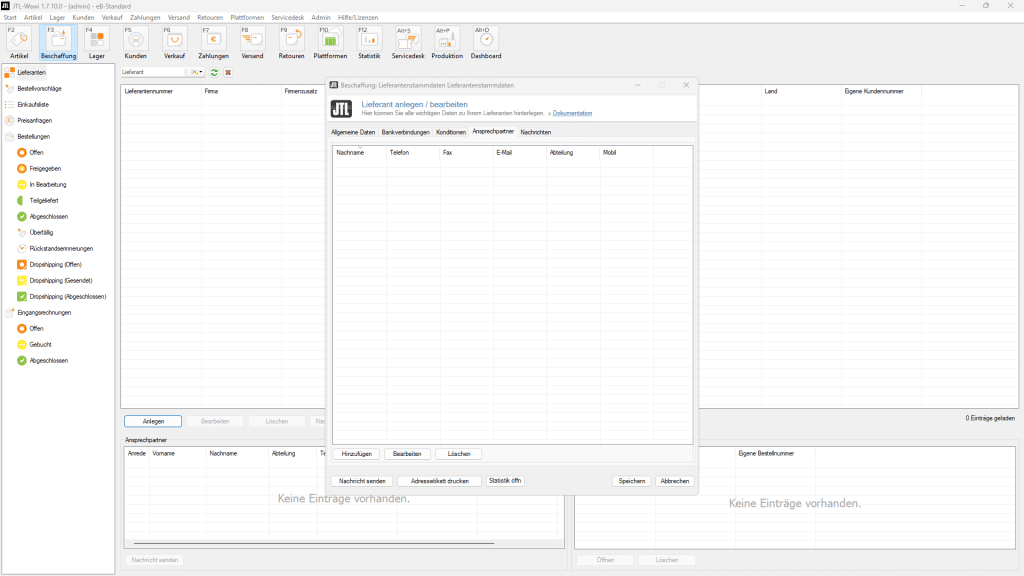
Clicking Add opens the Contact Persons dialog box. Here you can enter the contact details like
- Salutation
- First name
- Name
- Phone number
- Mobile number
- Fax
- E-mail address
- Department
deposit. With Save you save your entries.
News
Under View messages you can see all the messages you have sent to your supplier. The messages from the supplier are not displayed here. Here you can see the subject and the date of sending as mail or fax. Click on View message to open the message. With Delete messages you can also delete messages here again.

Click Save to complete your entries here.Send messages.
More questions?
If you have further questions about the use of JTL-Wawi or need basic support, you are welcome to contact the JTL service partner eBakery. We will be happy to advise you in a free initial consultation, and with numerous developers in our team, we can certainly help you in a goal-oriented manner.