Customize Shopware invoices

Making settings for documents

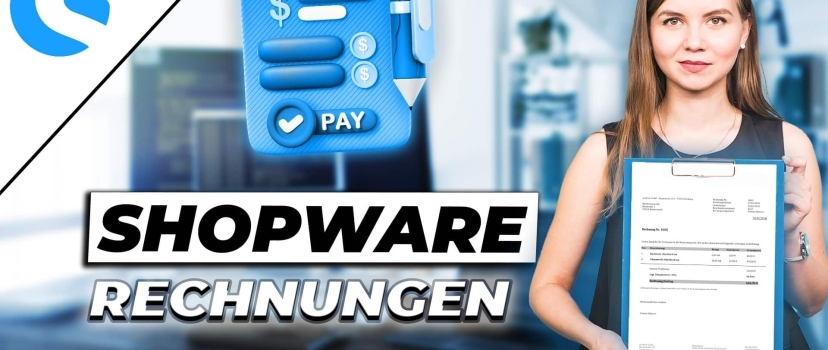
In this Shopware 6 tutorial you will learn how to customize invoices in Shopware, but also how to edit all other documents, such as delivery bills. This is a process that is often neglected, but is particularly important at the beginning and should be approached correctly. So look to the end and apply this for yourself.

Documents in Shopware

Documents such as invoices, delivery bills and the like are often treated rather neglected, which means there is a risk of errors creeping in. So that you know where in your Shopware store you can now check these settings on the spot, we will show you these settings in the following tutorial.

Customizing Shopware invoices - The settings

To make settings, we also have to go there, to be precise, to the settings for documents. Here we can already see the 4 types that are supported by Shopware. Invoices, delivery bills, credit notes and cancellation invoices. There is a good reason why these are now in English, as this is necessary for allocation within the system. So please don’t change the name here either. The possibility would exist if we click once on the desired position. What we could do, however, would be to upload a sample logo that would then be displayed at the top of the invoice.

Make adjustments to the invoice layout

Next we have the prefix and suffix, i.e. prefixes or suffixes that are added before or after the file name accordingly. This is relevant for your assignment, but you should also ensure that the customer sees this document and can view the file name. Take this into account at this point. We can then specify the orientation, i.e. whether portrait or landscape. The page format and the number of items per page can also be adjusted if necessary, but we will leave them as they are.

Customizing Shopware invoices - The checkboxes

Below that we have some checkboxes, some of which are self-explanatory. In the header, for example your logo is displayed, this line should be displayed checkmarks, if not uncheck the box. The footer contains, for example your VAT ID, your bank details etc. This means that both should already be ticked. Page numbering is clear, order items are clear, even the prices can be omitted if you want to turn an invoice into a delivery bill, for example. But we don’t want to, so these are absolutely essential.

Customize Shopware invoices - Optional checkboxes

Now we come to the items that are not selected by default. If you also want to number the order options, check this box. If you would like the customer to be able to view the document directly in their customer account, then check this box. If the delivery address is different, you can decide whether it should also be displayed here. Intra-Community deliveries are only relevant for international shipments. For B2B customers, you can also set here that the customer VAT ID should be included on the invoice. If you are only a B2C retailer, you can disregard this. What you cannot neglect, however, are the business settings. These must be maintained correctly from the outset.

Checking the invoice

But now some of you will be wondering what the new settings look like visually. We can check this by creating a test order and then going to Orders in the admin area and clicking on the test order. We then go to the “Documents” tab and create a new document. Shopware automatically takes the next possible number from the number range, so do not change it. Unless you don’t want to run the invoice management via Shopware at all, but use your own invoice program. Then you can upload your own document here. Now let’s create our sample calculation and download it directly afterwards. As we can see, all changes such as the logo has been adopted.

Shopware agency

If something here has not been implemented according to your ideas, then try to determine which position this is and correct it in the document settings until it fits.
The other option would be to contact the Shopware experts at eBakery and have your system set up correctly from scratch.
You can find all information about our services on the linked Shopware Agency page. However, it is also possible to make an appointment directly below.

Do you have questions or need an individual offer? Do not hesitate to contact us.


    eBakery requires the contact information you provide to contact you regarding our products and services. You can unsubscribe from these notifications at any time. For information on unsubscribing, as well as our privacy practices and commitment to protecting your privacy, please see our Privacy Policy.*.

    • 0/5
    • 0 ratings
    0 ratingsX
    Very bad! Bad Hmmm Oke Good!
    0% 0% 0% 0% 0%

    Haben Sie Fragen oder brauchen ein individuelles Angebot? Zögern Sie nicht, uns zu kontaktieren.


      eBakery requires the contact information you provide to contact you regarding our products and services. You can unsubscribe from these notifications at any time. For information on unsubscribing, as well as our privacy practices and commitment to protecting your privacy, please see our Privacy Policy.*.

      Related Posts

      Leave a Comment

      Shopware 6 SteuereinstellungenWhatsApp Voice-Chat in Gruppen

      Hat dir der Artikel gefallen?

      Dann melde dich doch zu unserem Newsletter an!

      Neben unseren Blog Themen informieren wir dich darin regelmäßig zu neuen Features und Tutorials