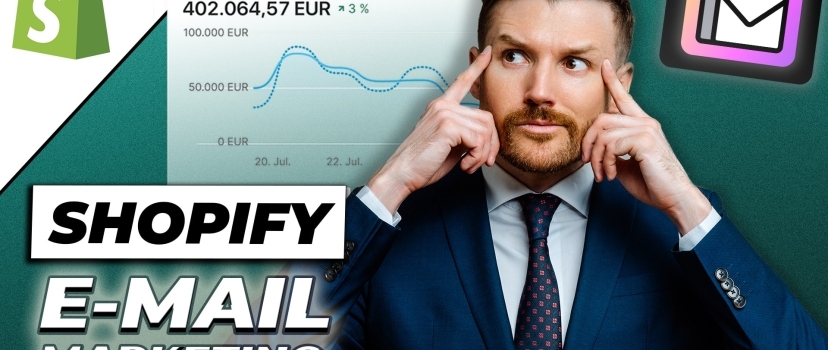
Shopify Email Marketing
Free strategy for your Shopify store
You can find out how to create a free Shopify email marketing campaign in the following Shopify tutorial.
We’ll show you which app you can use, how to install it, how to create templates quickly and easily and how to have the whole thing sent automatically.
Why should you use email marketing at all?
For one thing, no other marketing tool allows you to address your customers as personally as an email.
Accordingly, you can also respond very specifically to certain situations. Ex. to a shopping cart abandonment.
You can still encourage people to buy through various promotions.
Through discount campaigns or upsell offers.
You can draw attention to certain seasonal promotions, such as Black Friday offers, Christmas discounts or anniversary bargains.
Black Friday offers, Christmas discounts or anniversary bargains.
This way, the customer can save money if they are interested and you as a retailer can increase your sales at the same time.
So it’s a win-win situation.
But how can this be implemented for Shopify?
This is made possible by the native Shopify email app.
You can access it in the App Store or by going to “Apps” in your store backend and searching for “Email”.
The app logo will look like this.
All you have to do now is click on “Install”.
The app can then be found directly here in the app area and offers you two options at the beginning – the settings and the templates.
Shopify Email Marketing - Create newsletter template
Now let’s click on “Create template”.
As you can see, you can already choose from a variety of ready-made templates.
For this video, we will choose a newsletter template.
We’ll give it a new name so that we can easily find it again later.
Now we can customize the individual blocks according to our ideas, similar to what we already know from the Shopify Theme Editor.
Click on the block you want to customize in the middle area and edit it in the right-hand column. So for example. by changing the font.
However, if the template does not contain an element that you would like to use, click on this blue button labeled “Add section”.
This could be used, for example
This would allow you to integrate a YouTube video or, of course, products from your store into the newsletter template.
If you want to move the block, click on the symbol to the left of the visual block and move it up or down.
How to edit the templates
The block can then be deleted using the red dustbin symbol to the right of the block.
You can also customize the view, i.e. how the template would ultimately look on mobile or on the desktop.
Once you are happy with your template, you can save it by clicking on “Done”.
Or you can send this newsletter to your e-mail address as a test.
You can also find it here in the templates.
Another important point is the branding, which you can manage here.
This allows you to make global basic settings for the CI so that your logo is integrated into other templates, your CI font is used, etc.
Shopify Email Marketing - Create campaign
Once you have done both of these things, you can now create the actual campaign.
To do this, click on Email in the column on the left and on “Create campaign”.
The branding just shown can then be adjusted again here, but we click on “Next”.
Now you can select the template to be used for the campaign.
If we want to use our own template, we go to “Your templates” and select the one we want.
We are now in the actual campaign editor.
We have to decide to whom this campaign should be played out, this can only be newsletter subscribers, shopping cart abandoners of the last 30 days, customers who have bought at least once from you, etc.
Find out more about the topic of "double opt-in"!
We would like to point out once again that you should inform yourself about the legal situation regarding who may and may not be sent an e-mail.
Keyword: double opt-in.
You can also enter an appealing subject and a preview text.
Incidentally, the changes are saved automatically.
This means that you can now check whether everything is correct by sending a test email to yourself or leaving the editor.
Our campaign would then be here as a template with the status “Draft”, as we have not yet activated it.
You can view all the statistics for the respective campaigns here.
You can see what the open rate is, what the click rate is and how high the turnover is from the sales generated by a newsletter click.
Shopify email marketing - create automation
That would have been the manual option.
But you can also automate the whole thing by clicking on “Create automation” above.
You can already see that some workflows are already available here.
In this video, we’ll take a look at the “Abandoned shopping cart” case.
If you don’t want to pay any further attention to this, you can also click directly on “Activate automation”.
However, we want to take a look at the logic behind it and therefore click on “Edit”.
As you can see, this automation editor follows an if-then logic.
The initial situation is: A customer leaves the online store without making a purchase.
Further conditions are placed behind this: E.g.
Subscribed cart, i.e. a product was left in the shopping cart without being purchased.
However, the final action should not take place immediately, but only after 4 hours.
If this is too long for you, you can also click on the field here and only enter 2 hours instead of 4.
Now further conditions are linked, that the customer has not added any further products in the last time, that the customer has not already received a corresponding e-mail in the last 14 days, that at least one of the products in the shopping cart is also in stock.
If all these conditions are met, a predefined marketing e-mail would be sent.
This can also be customized again by clicking on “Edit email”.
To activate this workflow, you would then have to click on “Activate workflow”.
Shopify agency eBakery
You could cover the standard cases for email marketing easily and, above all, free of charge, especially as an eCommerce starter.
It only becomes chargeable from 10,000 emails per month.
If you have any questions, please leave them in the comments.
Otherwise, we at eBakery are also happy to support you as a Shopify agency in all other matters, whether SEO, design or merchandise management connection, take a look at the linked page and make an appointment directly there or here under the article.
- 0/5
- 0 ratings
| Very bad! | Bad | Hmmm | Oke | Good! |
|---|---|---|---|---|
| 0% | 0% | 0% | 0% | 0% |
Do you have questions or need an individual offer? Do not hesitate to contact us.


