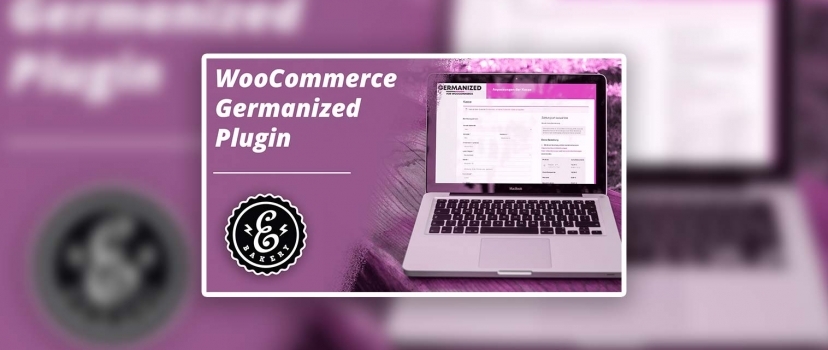
WooCommerce Germanized Plugin

Use WooCommerce in German and make it legally compliant

We show you what the WooCommerce Germanized plugin has to offer for you. Use your WooCommerce store in German and thus make it legally compliant for German online trade. That is the content of this WooCommerce tutorial.

WooCommerce Germanized Plugin - legal security for your online store

Very much in line with the last episode where we talked about legally compliant pricing in your Shopify store, today we’re going to talk about making your WooCommerce store legally compliant. But as a note in advance – we can not give legal advice with this blog article, that is, it serves only to provide information. The theme is the WooCommerce plugin Germanized. The manufacturer’s page demonstrates what this plugin promises to do. On the one hand, the ratings in the App Store are convincing with a rate of 4.8 out of 5, which means that the plugin is not only well received by us. But what constitutes this satisfaction?

What is the WooCommerce Germanized plugin?

The plugin stands for the legal conformity of German stores, therefore also“Germanized”. This means that legal texts are easily created, price presentations optimized and delivery times inserted. It is then crucial which version you use, for the scope of what exactly is included. For example, sample terms and conditions, revocation instructions, etc. are only included in the paid pro version. What this plugin is able to prevent in any case is to collect a warning. Here, there is a close cooperation with Trusted Shops, which meant that this plugin had to undergo a quality control. We will now follow up on this hint and see if the plugin is really that easy to install.

How to install the plugin

For this we go to the menu for plugins and want to install a new one, so we click on“install“. Then enter“WooCommerce Germanized” and the 5-star rated plugin from Vendidero will appear. We click on“install now” and“activate” and we have access to it. You can get familiar with the free version first, but of course you could also order the Pro version directly here. You can configure the plugin by clicking on the settings button. What you don’t have access to now are the sample legal texts, individual invoicing, multi-level checkout and the possibility of late contracting.

WooCommerce Germanized Plugin - General Customizations

First of all, general adjustments can be made.
That means you can assign your imprint page, specify the data to whom the revocation is addressed, as well as assign your payment and shipping methods.
However, these are already correctly assigned by Germanized and only need to be adjusted by you here under Pages, if you do not make do with the PRO version. Basically, the general settings can be kept as they are and only adjusted in special cases, e.g. when you want to change the settings. falls under the small business rule or you want to provide a field for the salutation in the checkout area. Save at the end. We go back and look at the price tags. Here, for example, the placeholder of the hint text must be filled and with our shipping method page. There we go, copy the permalink and then paste it exactly between the curly braces. When making changes, always save them so that they will take effect.

Song time and base price adjustments

Furthermore, adjustments can be made for delivery times and basic prices, but we will leave them at the factory settings. If you are unsure about the basic prices, we have already created a separate video for this purpose. What might be interesting for you for discount promotions are the strike prices. That means you can choose here if the strike price should be the old price, the new price or the recommended retail price. This is exactly what can then be set for the offer price. All other submenus can be customized, but are rather unimportant for the general public.

WooCommerce Germanized Plugin - The control settings

In the control settings, changes can then be made for digital products. The 2015 sales tax change will be addressed, making it possible, for example. may result in different tax rates if it is a B2C transaction and the person orders from Austria. So for example. an eBook ordered from Austria, Poland or Switzerland, the tax rate of the country must be taken into account. I would also leave the pro-rata tax calculation and the differential taxation settings as they are, since they conform to the norm. If changes should be made there, then only with prior consultation of the tax advisor.
If you want to change the button that leads you to the checkout area, you can do this with the“button solution“. That means instead of “Buy now” you can display “Order now”. Furthermore, a text for the thank you page can be entered. That is, the page that appears when a customer has ordered something. This can be very useful for you as a store operator to track purchases with the help of the pixel and then use them for advertising campaigns. Just a tip by the way.

Return period and salutation in your emails

Another important setting concerns returns. You can set these under transmissions. That is, it is possible to specify the period of time after the arrival of an item may be returned. If necessary, you can also add additional information and in any case enter your correct address in the last tab, so that the returned goods also arrive. In order for the whole thing to run smoothly, your preferred shipping service provider must of course be set up. That means the customer number must be in there, the link must be set up and so on and immediately. This can then be done for the shipping service provider you use in this settings menu.
The next point is the e-mail dispatch. Here you can determine which of these texts should be attached to the e-mail templates. This would e.g. make sense when the customer confirms the order, so can then be configured with this. After saving, you can then change the salutation in the next tab, so instead of “Dear”, you can just write “Hello”, depending on what is usual for your industry. For safety reasons, I would leave all other toggle switches as they are in the Germanized plugin.

WooCommerce Germanized Plugin - The Checkboxes

One of the last important setting options are the checkboxes. That’s why we go back and up on the checkboxes. Since we have correctly assigned our terms and conditions page, cancellation policy page, etc. at the beginning, we no longer need to set these links here, but can leave it exactly as it is. Especially the last switch I would leave activated to ensure consent. Without this no order. You can then determine where these checkboxes should be displayed. This makes the most sense at checkout. All other checkboxes options regulate special cases, so if you for example. alcohol in your assortment, an age check can be performed, or if you sell digital products, the checkboxes can be modified to select only for downloadable content. The very last settings menu for our video is the Double-opt In setting. This means that a newly created customer account can only be finalized after clicking on the confirmation link in the e-mail sent to the specified e-mail address. Failure to confirm would result in deletion after x days. In our case, that would be 7 days.

For questions about WooCommerce contact our experts

That brings us to the basic settings for the free version of the Germanized plugin. You can already see that this plugin is very extensive and covers many special cases. If you have any questions or concerns regarding WooCommerce, feel free to contact our WooCommerce experts.

  • 0/5
  • 0 ratings
0 ratingsX
Very bad! Bad Hmmm Oke Good!
0% 0% 0% 0% 0%

Haben Sie Fragen oder brauchen ein individuelles Angebot? Zögern Sie nicht, uns zu kontaktieren.


    eBakery requires the contact information you provide to contact you regarding our products and services. You can unsubscribe from these notifications at any time. For information on unsubscribing, as well as our privacy practices and commitment to protecting your privacy, please see our Privacy Policy.*.

    Related Posts

    Leave a Comment

    Hat dir der Artikel gefallen?

    Dann melde dich doch zu unserem Newsletter an!

    Neben unseren Blog Themen informieren wir dich darin regelmäßig zu neuen Features und Tutorials