
The product page of a web store informs the customer about the product. This is also where the customer decides whether or not to add the item to the shopping cart. For this reason, a product page should be
- Be visually appealing and clearly laid out.
- All important information about the product included
- Highlight the advantages and users for the buyer
- And, of course, also encourage people to buy.
I realized how important price information is while shopping offline with my girlfriend. I couldn’t find the price tag right away, so the jacket got stuck in the rack. For me, however, the to the price tag for my test store was born.
Ingredients:
Baking time:
- 10 minutes
Step 1: Creating the basic shape
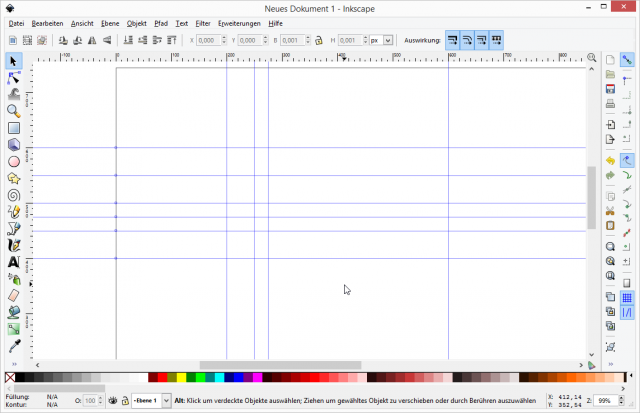
The first step is to create the basic shape for my price tag. A simple rectangle with two angled corners on the left side. I set the dimensions to 400px wide and 200px high. So start Inkscape and create a new blank drawing. In the File menu, select the Document Settings menu item. In the Document Settings window, change the orientation from portrait to landscape.


I then created the following guides in the document.
Horizontal – Y:
- 600 px
- 550 px
- 500px
- 475px
- 450px
- 400px
Tip: The guides can be positioned with pixel accuracy by dragging them into the sheet from above or to the left with the mouse and then double-clicking on the new guide with the right mouse button. A dialog window then opens in which the values can be entered in the fields behind X – vertical or Y – horizontal


Vertical – X:
- 200px
- 250px
- 275px
- 600px
Afterwards the whole thing looks like this.

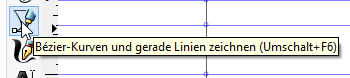
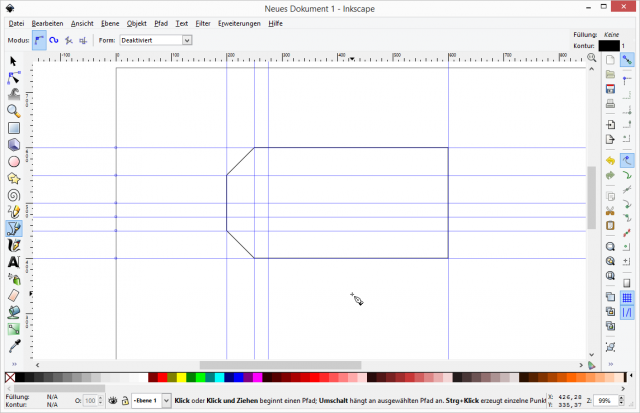
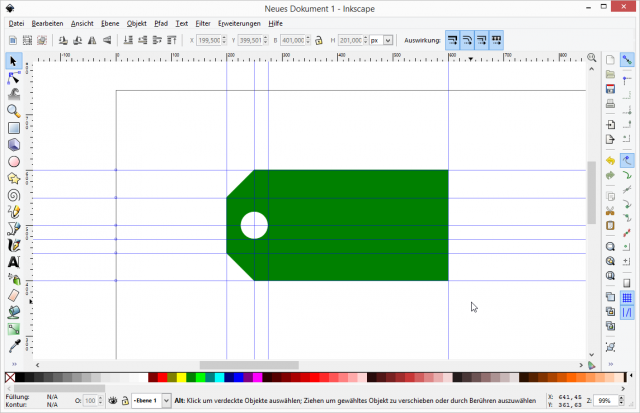
Now I can draw the outline of my price tag with the Bezier curves and straight lines tool


Now my price tag needs a hole so that it can later be attached to the product with a thread. To do this, I take the Ellipse tool, press the Shift key and draw a small circle at the same time.


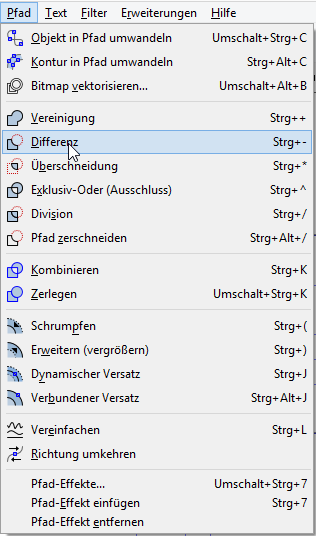
I use the key combination CTRL+A to select my two new objects and choose Difference from the Path menu.

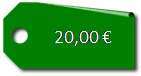
I literally punched a hole in my price tag with this. Now I can still fill it with the right color. I opted for a matching green here. I have removed the 1px border.

My price tag is not quite ready yet. But so that I can visually enhance it in step two, I first have to save it and then bring it into PNG format via File -> Export Bitmap.
Step 2: Pimp visually
I now open the exported graphic from Inkscape with Gimp.
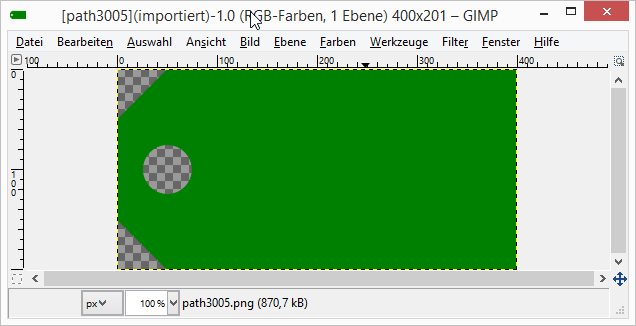

Here I have it a little easier with the guides. Via Image -> Guides -> new guide… I can quickly create the following guides:
Horizontal:
- 0px
- 50px
Vertical
- 100px
- 400px
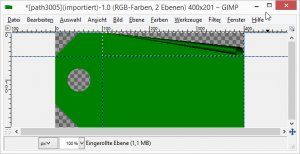
I use the square selection tool from the toolbar to select the area between the guides.
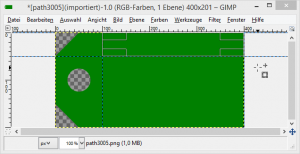

Then, under Filter->Distort, I select the Curl tool to curl the upper right corner of my price tag. In the Scroll In Effect window, I select Top Right as the position and Horizontal as the orientation. I set the opacity to 80%
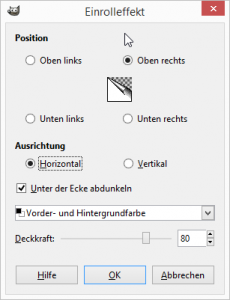

If you want to be very precise, you can set the foreground color to the color of the price tag.

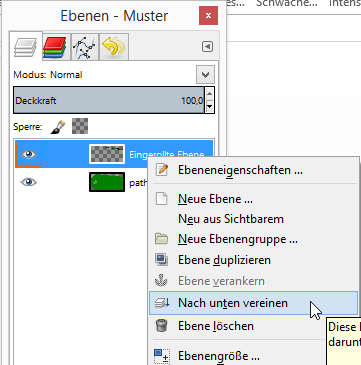
Now the new layer “Rolled-in layer” can be merged with the layer below. To do this, I right-click on the “Rolled In Layer” in the Layers window and select “Merge Down” from the context menu.

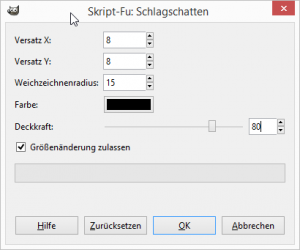
Now click on “nothing” in the Selection menu and the price tag can be given a drop shadow. To do this, I select the Drop Shadow item in the Filter menu->Light and Shadow. I set the offset for X and Y to 8 pixels and the opacity to 80%. I then click OK.

Now I can save my price tag and finally save it as in PNG format via File-> Export.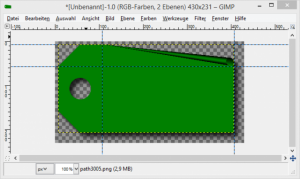

Have fun with the replica.