On my sub-domain jtlshop3.schaefer-it-consultant.de I have pulled up a sample store with JTL-Shop 3 for testing purposes. Fully functional and determined with sample items, I can replay the processes of online mail order here. Now this store should become a little prettier. How the design will look later, I do not know yet. Here are the preparations for the design adjustments.
Until now I use the default template of JTL-Shop 3 as shown in the screenshot below. As theme I use Green Fields, because it fits best to the green logo of contoso the Microsoft sample company. This template is now to be adapted to my needs.

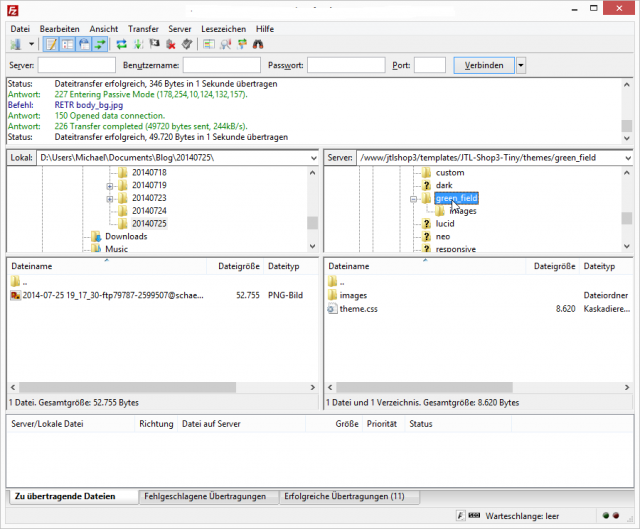
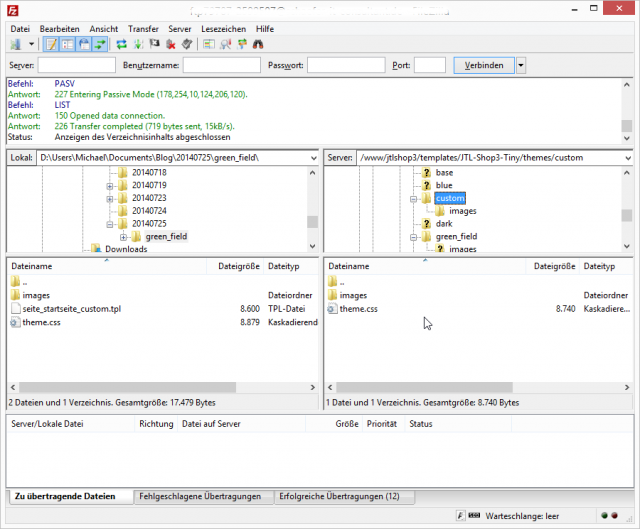
In the first step I backup the files from the web space to the local hard disk. I use FileZilla for this purpose. I can find the corresponding files in the folder /templates/JTL-Shop3-Tiny/themes. Here I download the entire /green_fields folder.
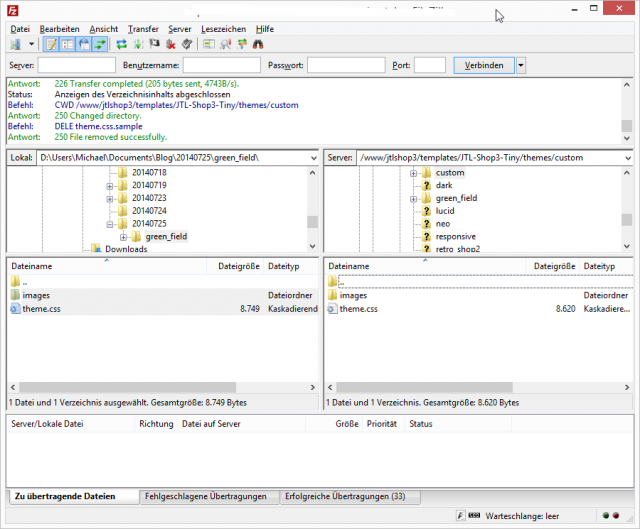
After the folder is backed up, I copy all the contents to the templates/JTL-Shop3-Tiny/themes/custom folder. I can delete the theme.sample.css file afterwards.
Now I can change in the backend of JTL Shop 3 in the menu item Display Template from Green Field to Custom. To do this, I select the appropriate entry in the selection field Default Theme and then click on the button “Save Settings”.
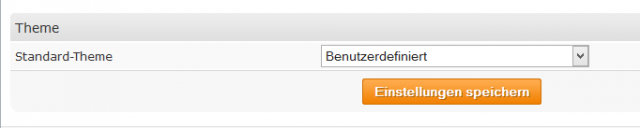
For now, no changes are visible.
In the next step, I want to have various categories displayed on the home page. To do this, the file /templates/JTL-Shop3-Tiny/tpl_inc/page_startpage.tpl must be copied to /templates/JTL-Shop3-Tiny/tpl_inc/page_startpage_custom.tpl.
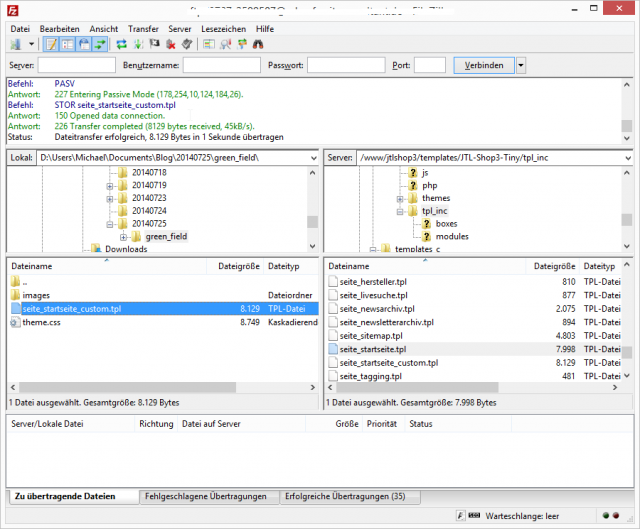
In the right place, I now need to insert the code for displaying the categories. To do this, I open the local copy with an editor like Notepad++ from the download directory. Starting at line 14, I insert the following text:
{get_category_list cKatAttrib='frontpage' cAssign='oCategory_arr'}

{if $oCategory_arr}

<div class="custom_content">

{foreach name=Kategorieliste from=$oCategory_arr item=oCategory nLimit=2}

<div id="category_c">

<a id="category_image" href="{$oCategory->cURL}">

<img src="{$oCategory->cBildURL}" alt="" /><br />

<p id="category_text">{$oCategory->cName}</p>

</a>

</div>

{/foreach}

</div>

{/if}

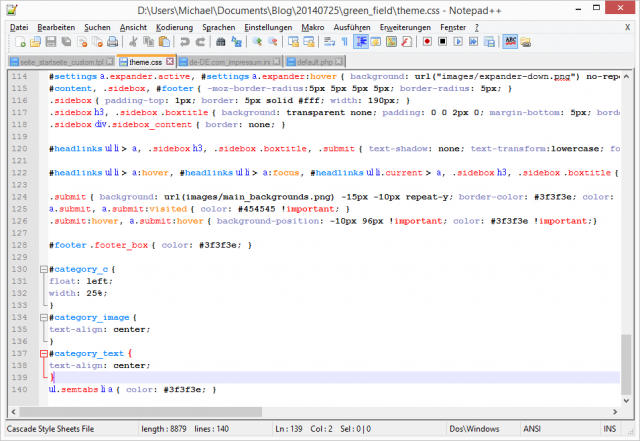
To make the categories appear side by side I have to add the IDs category_c, category_image and category_text to the corresponding css file. This is the theme.css which is located in the custom folder.
I kept the css customizations very rudimentary.
#category_c {

float: left;

width: 25%;

}
#category_image {
text-align: center;
}
#category_text {
text-align: center;
}
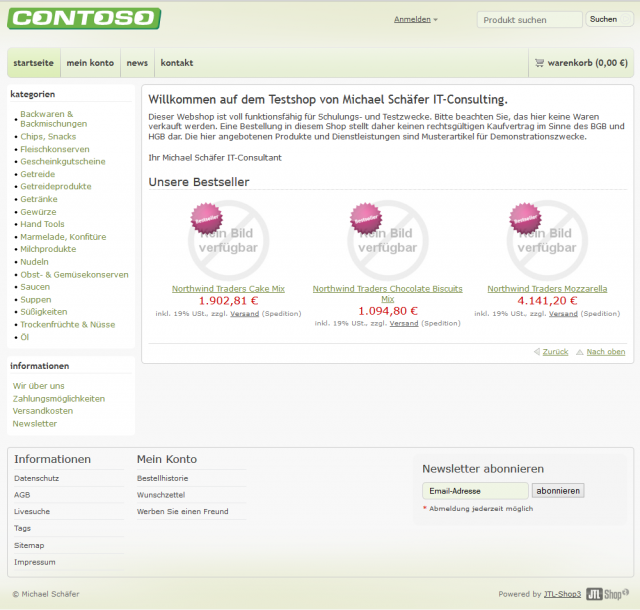
That was it. Both files now only need to be uploaded. The customized file seite_startseite_custom.tpl goes into the folder /templates/JTL-Shop3-Tiny/tpl_inc/ and the theme.css is copied back to/templates/JTL-Shop3-Tiny/themes/custom. The final result should then look like this:
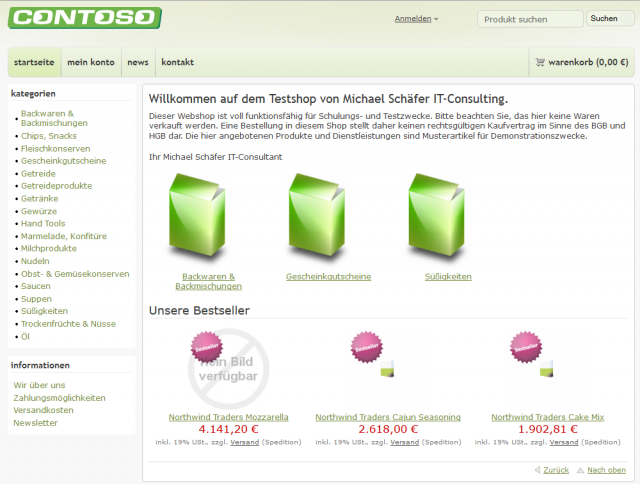
So that the categories are also displayed on the start page, the category attribute with the name frontpage (case sensitive) must be stored with some value, e.g. 1, for each category.

Have fun rebuilding
Michael Schäfer